Are you tired of shooting the same Earthly subjects over and over again? Then prepare that snapper of yours because in this installment of Snapshots, we’ll be discussing how you can photograph subjects that are literally out of this world—or in other words, astrophotography. More than a way of churning out awe-inspiring shots, astrophotography is also an excellent way of exercising patience, boosting your astronomical knowledge, sharpening your camera skills, and reconnecting with nature.
What’s Astrophotography?
Astrophotography or galaxy photography, as the name implies, is a special kind of photography dealing with heavenly bodies. Though capturing phenomena such as solar eclipses happen during the day, the typical astrophotograph is taken during the night. They’re also usually taken far away from light polluted areas such as cities as to get the most from the relatively faint light of space.
It’s quite easy to get started with astrophotography, but as with all art forms, it’s a pain to master. Don’t get me wrong though; you don’t need to go out to the great dark beyond and peek through the Hubble Space Telescope to immortalize your glimpse of the stars. As long as you know your ISO, aperture, and shutter speed controls, and as long as you have a halfway decent camera (whether that be a DSLR, a mirrorless, a point and shoot, and heck, even a smartphone), you’d be fine.

Equipment You’ll Need
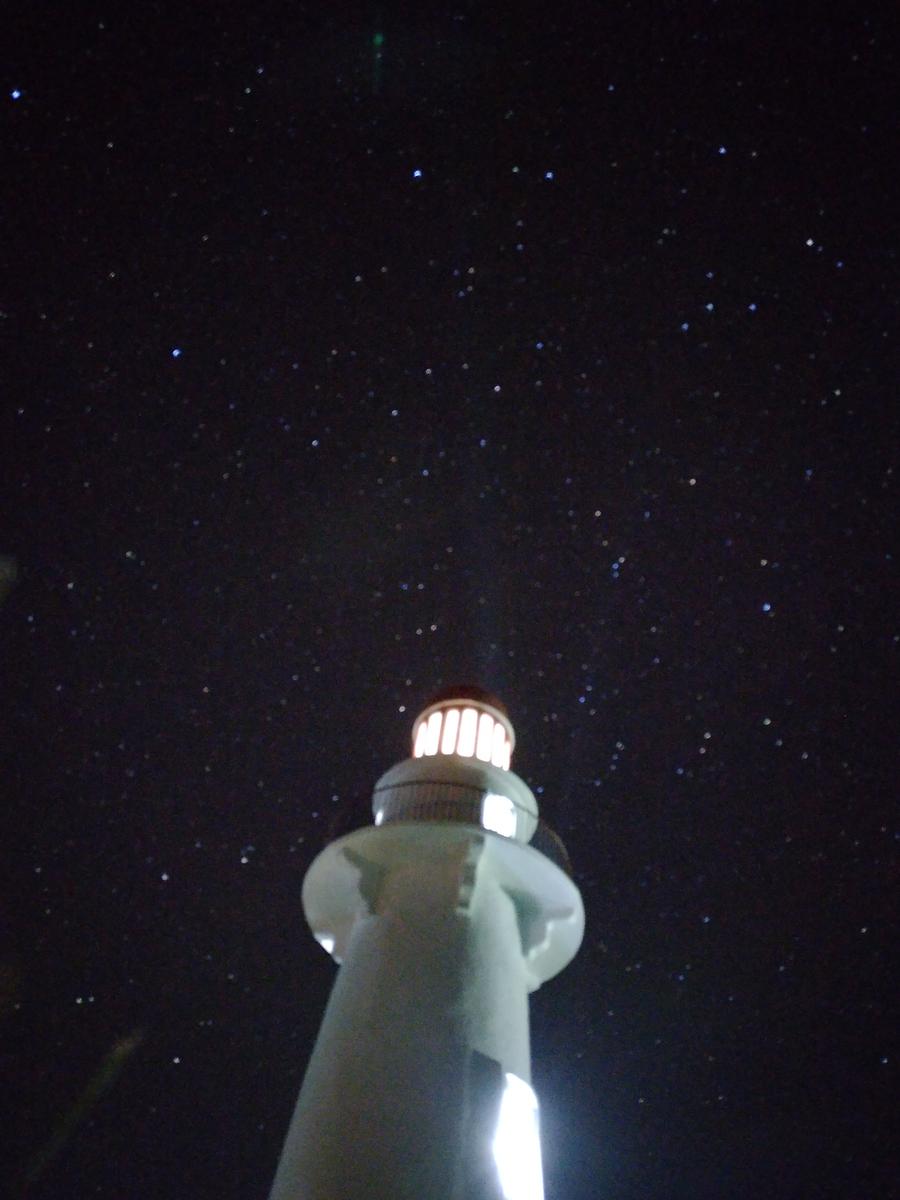
Obviously, you’ll need a camera or camera app with manual controls for the elements of the exposure triangle. For best results, what you’re looking for is a device with options for at least a 30 second shutter speed, 3200 ISO speed, and an aperture that’s at least f/2.0 wide when fully zoomed out. If you need any assurance that even a smartphone can produce great-looking galaxy photographs, then check out the sample pics in this article. All of them were taken with the Asus ZenFone 3 and its robust manual camera mode. Folks with DSLRs or mirrorless units, even with just the kit lens, will of course have no problem.
Astrophotography demands long shutter times. Unless you’ve got ice in your veins, you’re going to want a tripod for your shooter. Lastly, a remote shutter will help a lot in ensuring your camera doesn’t jiggle when you press the shutter button.
You should also consider downloading a star map onto your smartphone, like Sky Map, Stellarium, or Starlight, so you know where constellations can be found. Having an idea of where and what time these star patterns rise is also useful in determining where and when the signature blue band of the Milky Way galaxy will appear.

Where to Shoot
The darker your shooting location is, the better. The long exposure times mean any sort of faint light brighter than the stars that stray its way into your composition will be intensified tenfold. For those in the metro, this might mean going to the highest building balcony accessible for the least amount of light pollution possible. Another good idea would be to head out of town for the guaranteed darkest environment.
Settings
If you’re in a completely pitch black area, the goal for your camera’s manual mode is to use the widest aperture, the highest ISO value, and the longest shutter speed your camera can muster. After producing your initial shot, you can then tinker with the elements until you get the look that you’re gunning for.
F-stops and ISO numbers are directly related to each other—the smaller your f-stop number, the smaller your ISO value should be. This is so your shots are properly exposed and come with the least amount of noise possible. Focal length and shutter speed are also related in that the longer your focal length (and thus the narrower your field of view and the more zoomed in you are), the shorter the shutter speed you can use. Why? Because magnifying the stars also magnify their movement. If you use a long shutter speed with a long focal length, the stars will appear blurred.
That’s the gist of astrophotography. If you want to take things to the next level, then you better brush up on some space knowledge, such as what time stars appear during certain months, the phases of the moon, the best places to be during seasons, and most critically, the weather and cloud situation. There’s also an element of luck involved here, so if you find your shots to be wanting, don’t get discouraged. Just keep snapping.
Also published in GADGETS MAGAZINE December 2016 – January 2017 issue.
Words & Photos by Chris Noel Hidalgo
