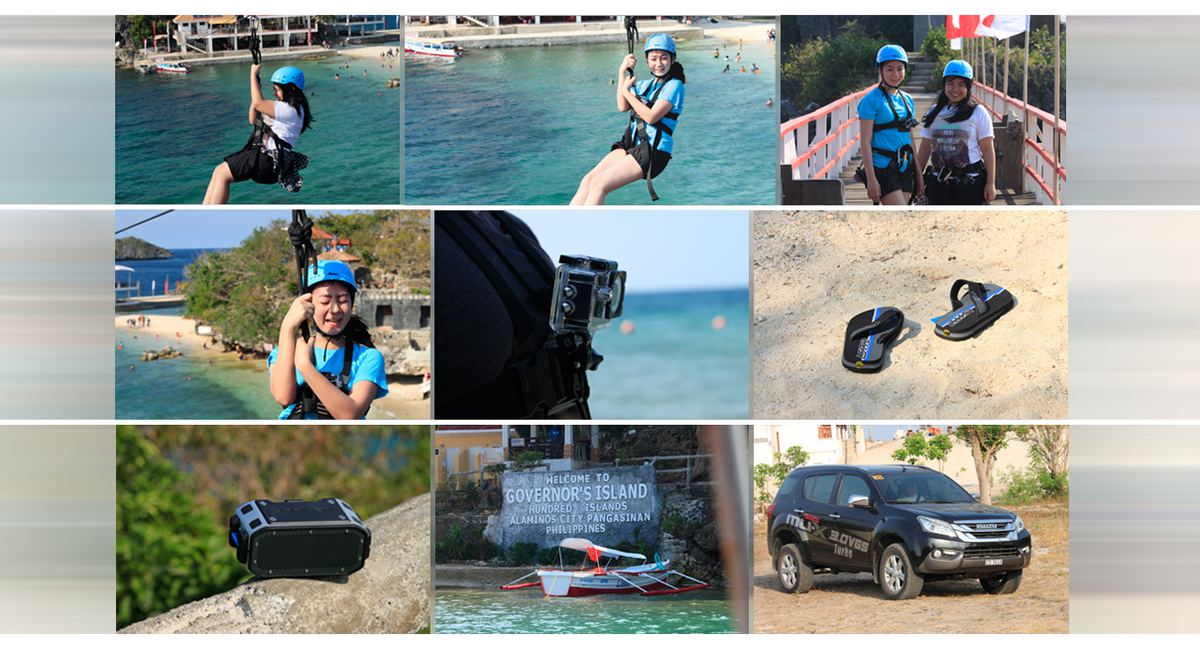
Nowadays, an out of town escapade without photos is just as good as your favorite barber’s fish story. Whether you take them for reminiscing later down the road, putting in physical prints, notching some likes, or boasting that you did a swan dive off a 30 meter waterfall, a great picture makes the whole affair official. Here are some tips and tricks that will help you go big in this “pics or it didn’t happen” world.
Do Your Research
While you may have already done some research for your travel itinerary, doing research for photography involves intimately learning about the place beforehand. You’ll need to brush up on the local culture and customs if you hope to capture people in the moment. More importantly, you should know when and where events happen so you and your camera won’t be caught unprepared. These don’t even have to be grand fiestas that have been snapped to death by countless other photographers. It could be the residents’ everyday activities that are usually missed by tourists.
You should also take the time to research on the place’s geography and climate. This will help you prepare your personal items as well as the camera gear you’ll be bringing. Nothing sucks more than packing beach clothes and an expensive DSLR to a supposedly sunny place and you find yourself lucking out on the week when it’s always raining. Additionally, take note of your destination’s lighting situation. Will the sunlight be uninterrupted or will there be tons of shade? In the case of our Bolinao Road Trip, its sunsets are gorgeous but sunrise is non-existent because it’s on the country’s western side.
Get Equipped
After familiarizing yourself with the place, you must decide on the gear you’ll be bringing. In an ideal world, you’d be packing a DSLR, a mirrorless, a point and shoot, and an action camera. But since we’re not in a utopia, you’d have to compromise a bit so you won’t break your back and bank carrying all those shooters with you.
Each type of shooter has its own pluses and minuses in categories such as image quality, portability, and ease of use. It’s up to you to evaluate whether it will be worth it carrying a bulky DSLR up a tricky mountain trail, a mirrorless camera down a sandy beach, or a point and shoot through a dense jungle. Of course, if you have a certified rugged snapper or element-proof pouch for your cameras, then you can go gung ho with no fear.
I will, however, recommend an action camera to always be on your person. But not as a main shooter; rather, as a supplement to your primary one. As it’s an almost everything-proof, light-as-a-feather device, you’d have no problem having it out and ready to capture moments that would otherwise be missed by a conventional camera.
And because you never know when thieves will strike, here’s a special tip. Pack your gear in a worn down (but still useable) bag, patch some places up with layers of duct tape, and tape over any distinguishing brand or product names. That way, people will be inclined to think you’re not carrying anything of worth on you.
P.S. don’t forget to bring tons of storage—whether in the form of additional flash cards or external hard drives—so you can make plenty of backups.

Choosing the Right Settings
There is no single trick for travel photography as different situations require different tweaks that you’ll have to do on the fly. However, there are some ways to make the shooting process easier, ensuring you’re focused on the elements of the scene rather than being preoccupied with editing in-camera values.
First of all, shoot in RAW. Sure, it eats through storage like goats through grass, but most mistakes (except framing and angles) can be rectified during post-processing. Second, consider switching to Aperture Priority mode with Auto ISO set to a ceiling of 1600. This way, you can control depth of field without having to worry if your shots are too dim or too bright. You can also go with Shutter Priority mode if you find that you’re producing blurry photos. Lastly, for metering mode, leave it on the default matrix/evaluative setting to make it easier to pull details from dark areas and highlight key elements.
Take in the Experience
This is what separates a travel photographer from a vacation photographer. While both can snap great looking images, a travel photographer makes sure to get deeper insight and understanding into what he is seeing. Ask the local about the stories of where they live. Make small talk. Take part in what they are doing. Connect with them as fellow human beings and not just as subjects of your photos. In doing so, you’ll get unique shots that actually have stories behind them.


Also published in GADGETS MAGAZINE April 2016 issue.
Words by Chris Noel Hidalgo
Photos by Benedict Asal
