
Being stuck at home means we have much more time to pursue some side projects, whether for fun or maybe as a side hustle. One of the simpler, and more enjoyable ones is recording audio at home. Maybe you want to lay a new track down, or try your hand at voice-over work. Either way, it doesn’t take too much to try out, and if you feel this is your calling, there are a number of upgrade paths you can take to elevate your recording capabilities.
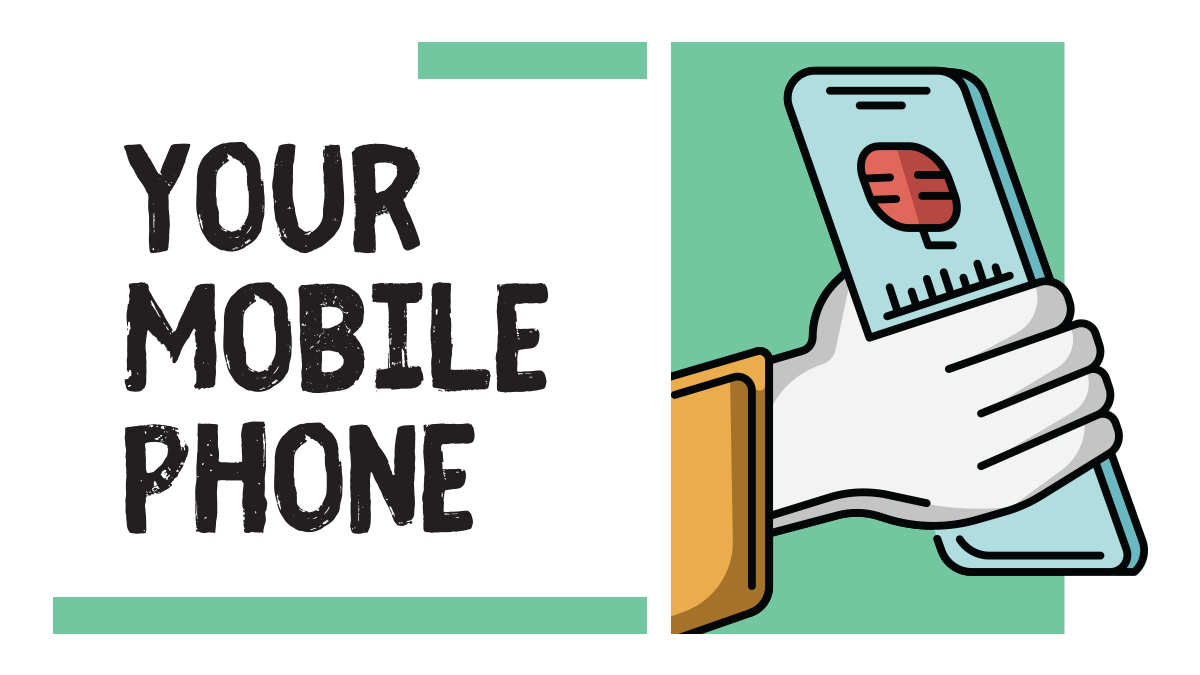
Your Mobile Phone
The simplest way to give home audio recording a try is to use your mobile phone. Modern mobile phones have decent enough microphones for at least getting a feel for recording a short snippet of audio, a nice riff, or a song verse or two. Play around with the distance between your audio source and the phone’s mic until you get as full a sound as possible. Better recording apps also make quite a difference, usually thanks to a better interface and the ability to record additional tracks that you can lay on top of each other. I personally have had success putting a vocal track down on a guitar recording I made with just my phone and the app Bandlab. It might not win a grammy, but it was more than adequate for sharing, and should be plenty if you just want to experiment with making music at home.
If you have an Apple device, Garageband is a very easy-to-use and surprisingly powerful application that lets you record layers, keep time, and even loop tracks with an intuitive UI that anyone can pick up and learn with little effort. I’ve recorded podcasts, made intro music, and recorded two-and three-track layered audio on it and an iPad pro, and the results don’t sound like they were made on a single, portable device.
If you want to upgrade without spending a lot of money, you can head over to your online merchant of choice, and purchase yourself an inexpensive lavalier or small 3.5mm shotgun mic for even better audio quality. Decent brands usually go for less than PHP 1,000, and deliver great audio quality that you can even use for vlogging, or run-and-gun outdoor shooting and recording.
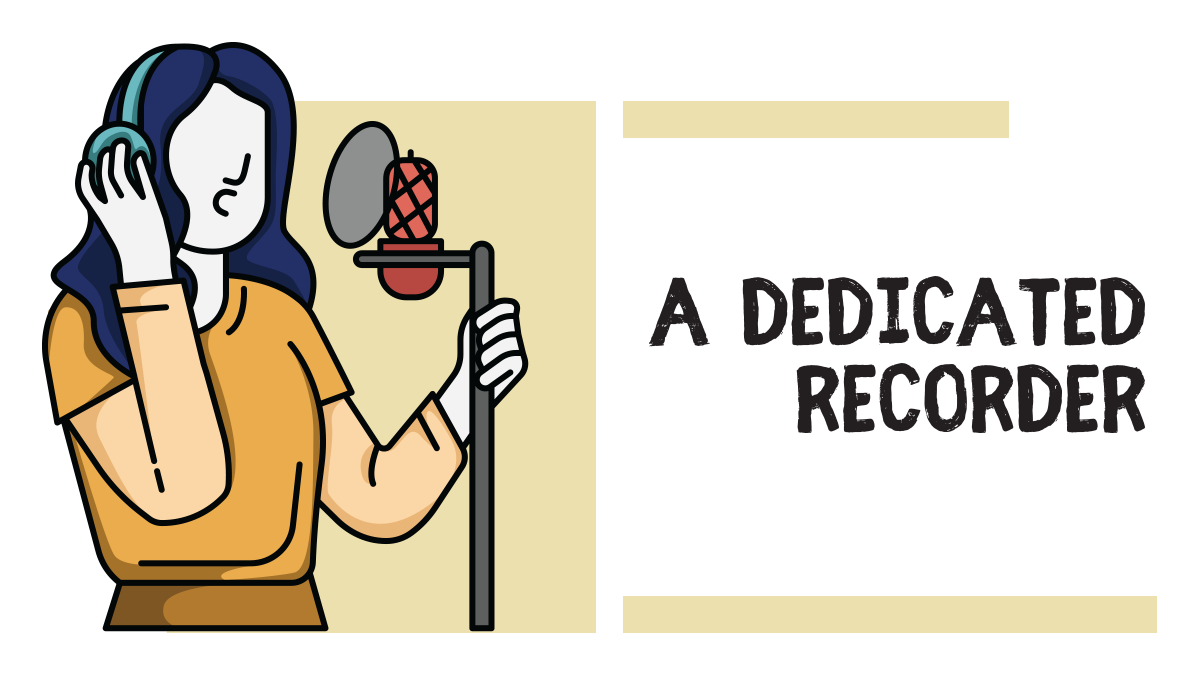
A Dedicated Recorder
If you want something with better audio quality that still remains portable, you can look into a dedicated audio recorder. While more expensive than a simple external mic and a mobile phone which you probably already have, these recorders offer stellar performance, and should be more than enough for any home gamer. There are popular brands out there, but the standard for mini audio recorders remains the Zoom H1n. I personally use this for recording podcasts, voice-overs, and the occasional music track, and it has performed great. You can use it as a stand-alone recorder with up to a 32GB microSD card, or plug it into a computer with a microUSB cable for use as an external mic (more on that later). Should you need it, you can still connect a 3.5mm microphone into the input jack for greater versatility. With this, you’ll need a computer to pull the audio from the SD card, and a program to edit the audio and combine tracks, but as a self-contained recording device, this is one that’s hard to beat, with prosumer-level performance for under PHP 6,000 locally.
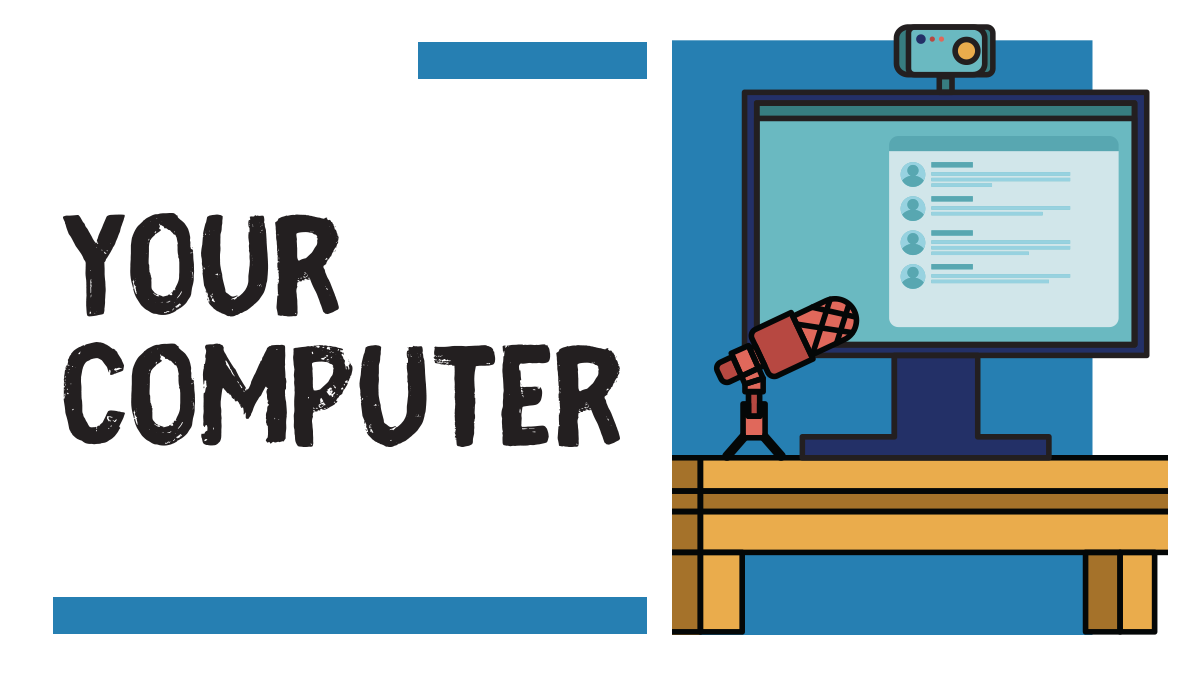
Your Computer
If you have a computer at home, you’re already halfway to making music or recording a solid V.O. The built-in microphone won’t be of much use here, so you’ll have to start with an external audio source. Unfortunately, just plugging a microphone into the 3.5mm jack on your computer will probably not yield the results you’re after, as the internal hardware of most computers just isn’t able to deliver the kind of performance you’re likely going to be looking for. Don’t worry though, there are a few options.
You can check online for a quality USB condenser microphone. Great-quality ones are available for anywhere from PHP 3,000-4,000, and should deliver quality home-recording level audio, and since it’s USB, it requires no setup beyond unboxing the microphone, and plugging it into a free USB port. You’ll still need a program to record and manipulate your audio, but keep reading, and we’ll cover that as well.
There are condenser microphones available online for less than PHP 1,000 as well. Those are workable, but require additional hardware to use, as plugging them straight into your computer’s microphone or audio input jack won’t work—you’ll need an external sound card for it to play nice with your computer, which adds a few hundred bucks and another delivery to your list. Mics with XLR connectors (the kind of large plugs you usually see on karaoke mics) will also work if you have them, but you’ll need an external audio interface to record on a laptop or desktop.
If you already have an external recorder like the Zoom H1n mentioned earlier, you can use that as an external microphone as well. This is my personal podcast setup, and works great, as the recorder can be used on its own, and serves as an excellent input when plugged in via USB. I’m a big fan of devices that serve more than one purpose, and this is an excellent example of that. It should also work when connected to an iPad or iPhone, but additional hardware connectors are necessary, so if I need to record on the go, I just use the H1n on its own.
Software
The most commonly used software for audio recording on the PC or Mac is Audacity. It offers much more functionality than the home gamer is likely ever going to need, lets you edit your audio to your heart’s content, and is reasonably straightforward to learn and use, at least for the simpler functions you might want to have access to at home. It’s also free, which is a huge plus, and lets you specify which inputs you’re going to be using to make a recording. It’s a rather technical piece of software though, so you’re going to need patience and a willingness to learn, a teacher, or lots of YouTube videos to help figure it out. It’s not too bad though, and is well worth the effort you’ll put in.
Another piece of software I’ve grown to love is Voicemeeter Banana. This is a virtual mixer that lets you control the audio inputs from multiple hardware and virtual inputs and outputs, so you can have multiple microphones outputting on multiple headphones or speakers, all done virtually, with no additional mixing hardware required. It’s donation-based, so you pay whatever you feel the software is worth—something I recommend you do once you can. It’s a little confusing to start with, and it took me a few weeks of experimentation to understand, but now I’m not sure I can live without it.
The Space
If you want the best audio quality possible, you’re going to need a space in which to record. If you have a spare room, you’re set. Just hang some thick blankets up to keep the sound from bouncing around and coming back to the microphone, switch off anything that makes noise, like fans, air-conditioners, and the like, and you’ve got a recording booth. If you have a desk, and a microphone, just set the mic down on top of a roll of paper towels so you it’ll be the correct height to reach your mouth when you’re standing, and you’re done—no mic stand required!
If you don’t have the luxury of a spare room, don’t lose hope. We currently stay in a one-bedroom condo, but I am able to record quite well in my “audio booth,” which is one of our closets. The clothes offer great reverb damping, and the small space is great for getting up close to the mic and making the most of the proximity effect, making my voice sound fuller and more detailed. All you need is a way to get the mic up to the correct height, maybe a pop filter (which you can make with a stocking and a hanger), and your clothes. Make some space by pushing your clothes off to either side of the mic, hit record, and enjoy the dead silence provided by your own little recording booth. This will of course probably only be doable if you’re doing vocal work with a portable recorder, but it’s a great way to get the best possible environment for that, with no additional space or cost.
While by no means exhaustive, this is a reasonably comprehensive guide to what you can do to get your own home recording endeavors off the ground. It doesn’t have to be complicated, expensive, or difficult, and yields recording that are more than good enough to share with the world, or land a gig. This is a great time to try new things out, and with a little hardware and some ingenuity, you can record your own audio at home with stellar results.
Also published in GADGETS MAGAZINE July 2020 issue
Words by Ren Alcantara