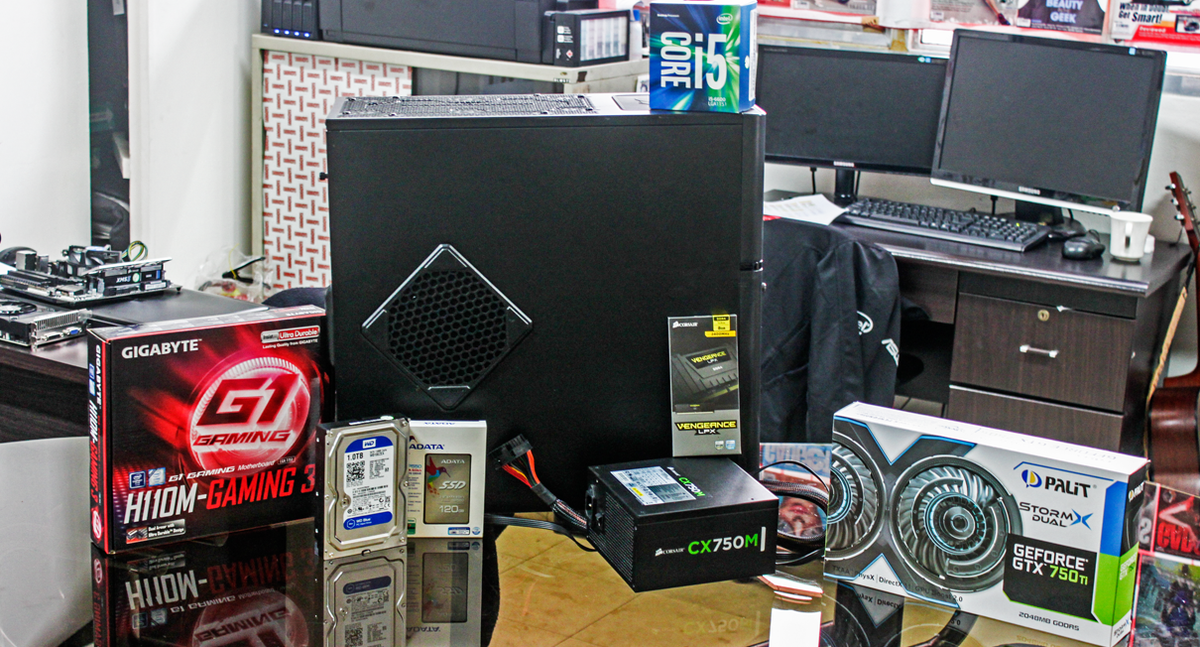
The parts used in this guide were provided by UberTech, one of the country’s leading computer distributors. You can check out the brands that they carry here. For our video guide, check out this link.
Building a PC seems daunting, with all the circuits, fancy-looking parts, screws, cables, and what have you. Some people also have the notion that building a PC is expensive, and they’d rather buy a laptop that works out of the box or go to their nearest computer shop for their gaming fix. However, with advances in technology, building a PC from scratch has not only become cheaper, but also easier. If you ask me, building a computer is a lot like playing with Lego blocks—though of course, the parts are bigger and cost a couple thousand Pesos each.
Why build your own PC?
There are a couple of reasons why you should consider building your own PC. First is that the platform allows you to be flexible with your budget. Unlike notebooks or pre-built desktops that have fixed components for a certain price point, you can mix and match your parts to fit both your budget and your current need.
Say you have a PHP 25,000 budget, want to game, and have no plans of creating multimedia content. You can splurge on your graphics card, skimp on your processor and motherboard, and voila! You’re playing GTA V with decent settings and frame rates. Inversely, if you want to make some money doing image and audio video manipulation, you can put most of your budget into the processor, skip the graphics card, and you’re rendering videos faster than you have job orders.
This ties in nicely to the second reason of why you should build a PC: upgradeability. If you’re gaming and suddenly decide to be a streamer, it’s easy to fork out a few thousand Pesos for a better processor. If you’re working on a client order and want to game to take the stress off, you can go out and buy a graphics card in a snap. If you want faster storage, go buy an SSD. If you need more memory, get more RAM. This ability to scale as needed is something most laptops and game consoles sorely lack.
The third reason is cost. For the same price, you can get much more performance from a PC than a laptop.You’d have to spend two to three times more on a notebook if you want desktop-class performance. The only department PCs really lose out on is portability. And like I said, you can upgrade parts incrementally on PCs. With notebooks, you’d have to buy a new one every two to four years to keep up with the demands of games and applications.
Now, without further ado, let’s get to the guide.
Tools you’ll need and where to work
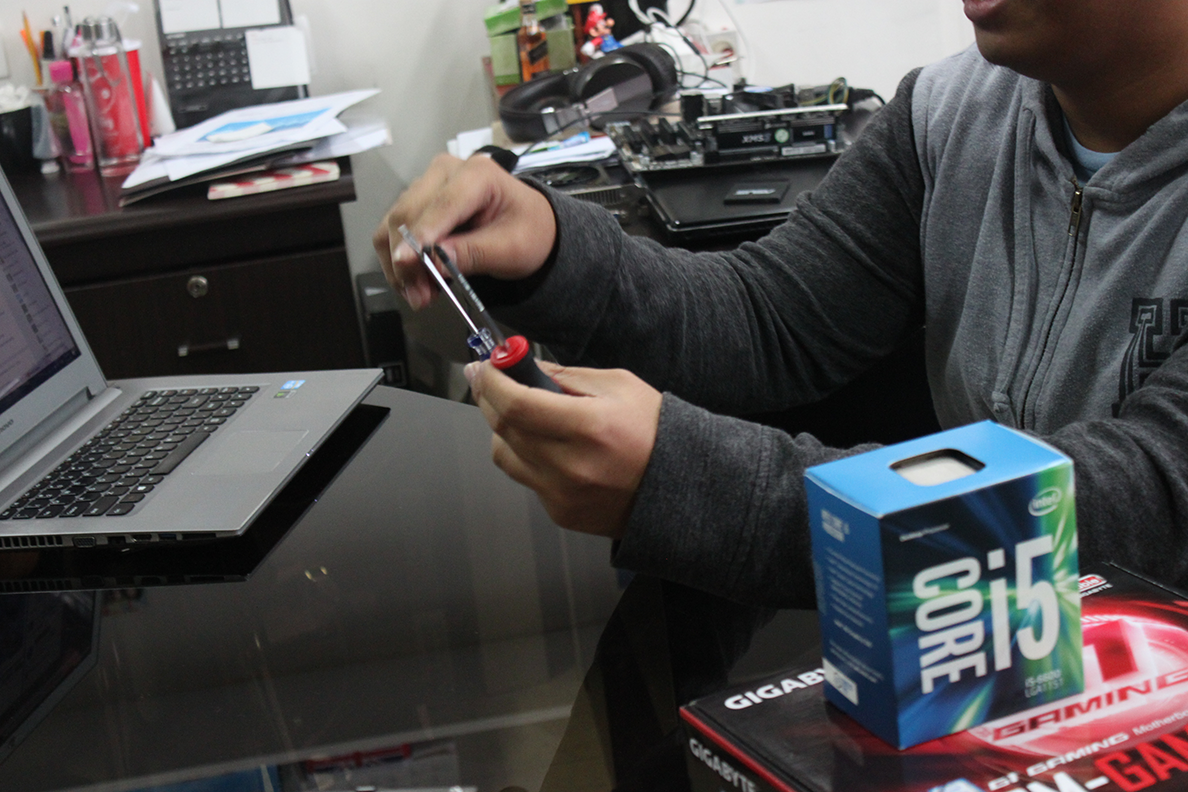
You only really need a Phillips screwdriver for the task. Get the ones that have replaceable heads so you can adjust accordingly as you’ll be dealing with multiple screw sizes. Pro tip: use the right bit size so you don’t strip the screws.
Some other things that you might want to consider buying include: an anti-static wrist strap to protect the components from accidental electrostatic discharge during assembly; an anti-static rubber mat to assemble on so the parts don’t slide all over the place; and a tray to store the screws in.
A well-lighted flat table with a non-conductive surface such as glass, wood, or monobloc plastic will be the best place to work.
The parts
We used the following parts for this build, all graciously provided by our friends from UberTech.
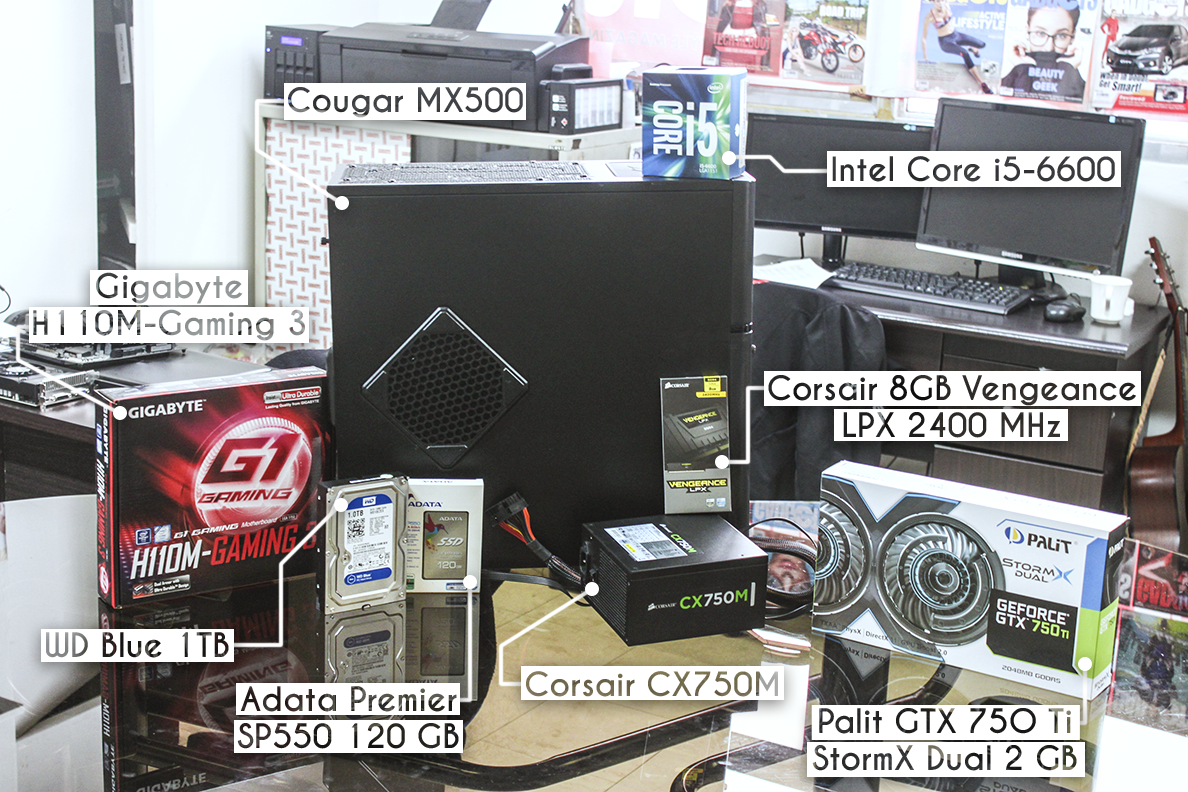
- Processor: Intel Core i5-6600
- Motherboard: Gigabyte H110M-Gaming 3
- RAM: Corsair 8 GB Vengeance LPX 2400 MHz
- Graphics Card: Palit GTX 750 Ti StormX Dual 2 GB
- Storage Drives: Adata Premier SP550 120 GB and WD Blue 1 TB
- Power Supply: Corsair CX750M
- Case: Cougar MX500
All in all, the entire tower costs just under PHP 35,000. Of course, you can swap parts here and there to fit your need and budget. Whatever components you buy, the build guide below should be applicable, and the overall build experience should be mostly the same.
The build
- Installing the processor
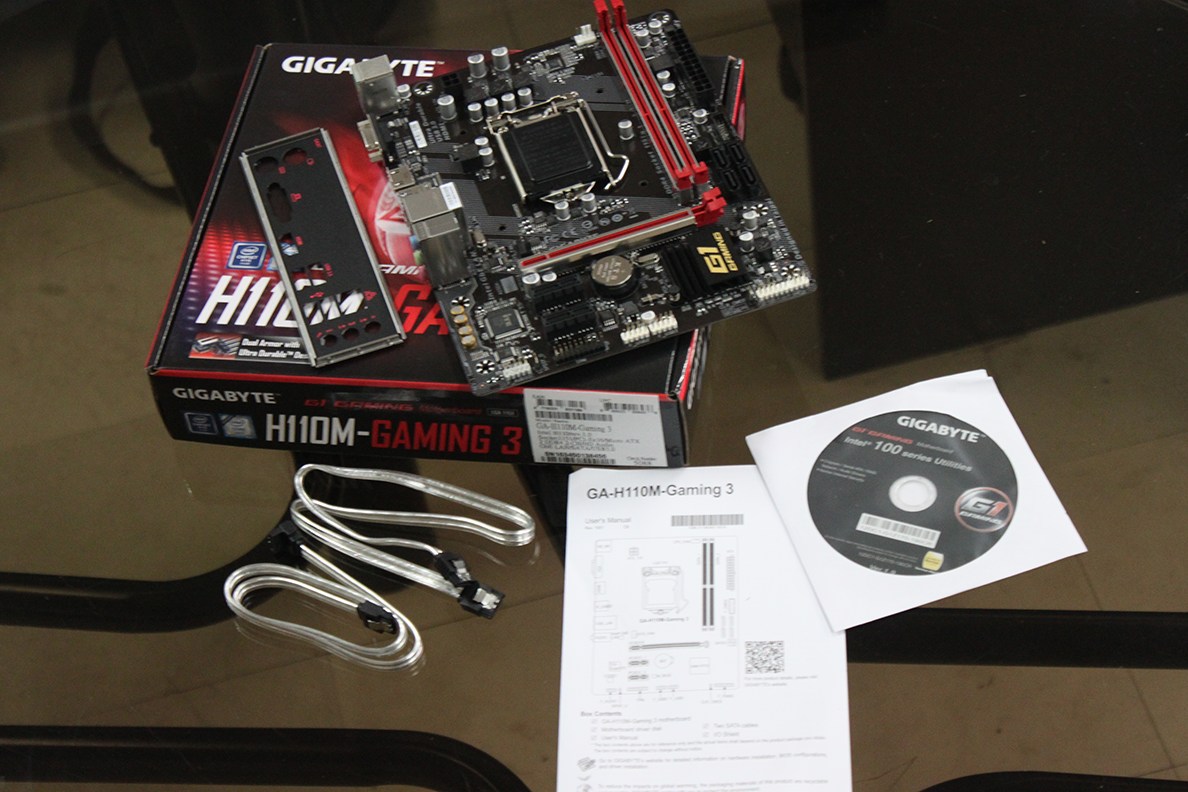
Get the motherboard, documents, I/O shield, and drivers installation disk out of the box. Read the manual first so you can familiarize yourself with the mobo layout. Next, take the motherboard out of its antistatic sleeve and lay it on its box. Being non-conductive in nature, the cardboard is a very good alternative to an antistatic mat.
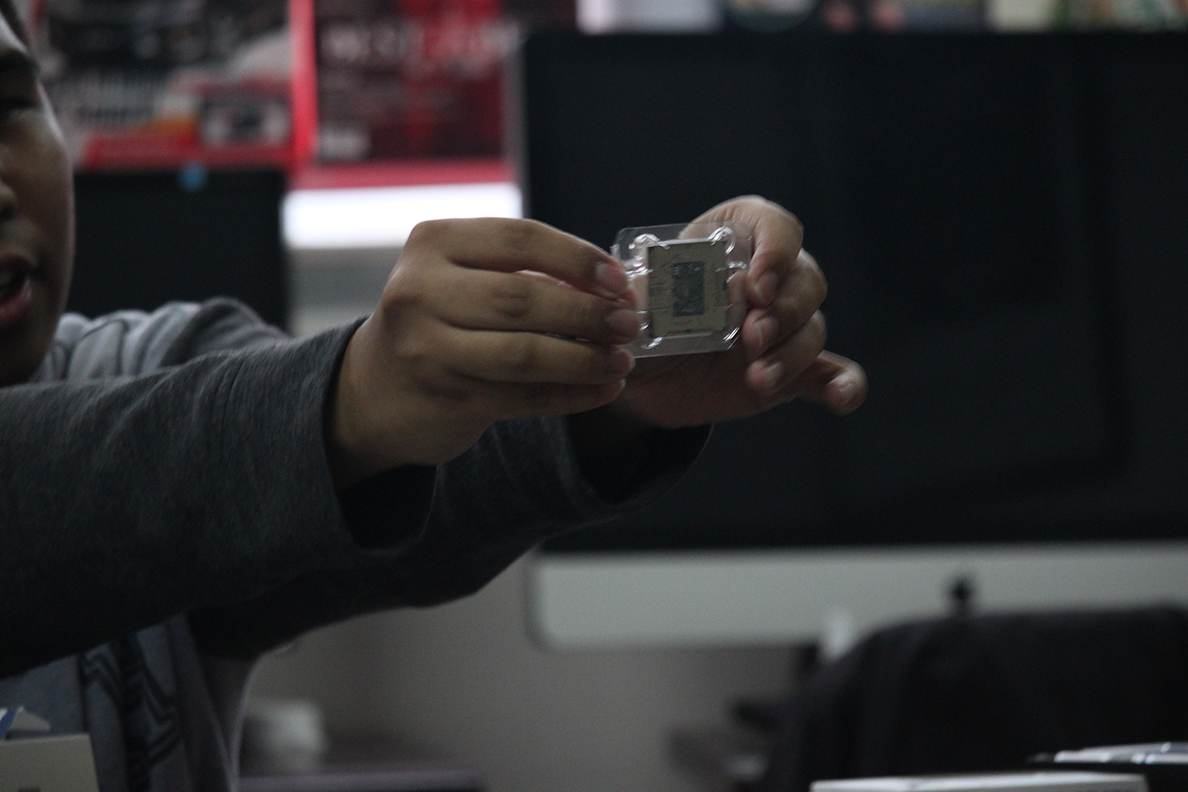
Next, take the processor out of the box first, then out of its protective plastic case next. Notice that it has a gold arrow on one corner. This corresponds to an arrow near one of the motherboard socket’s corners.
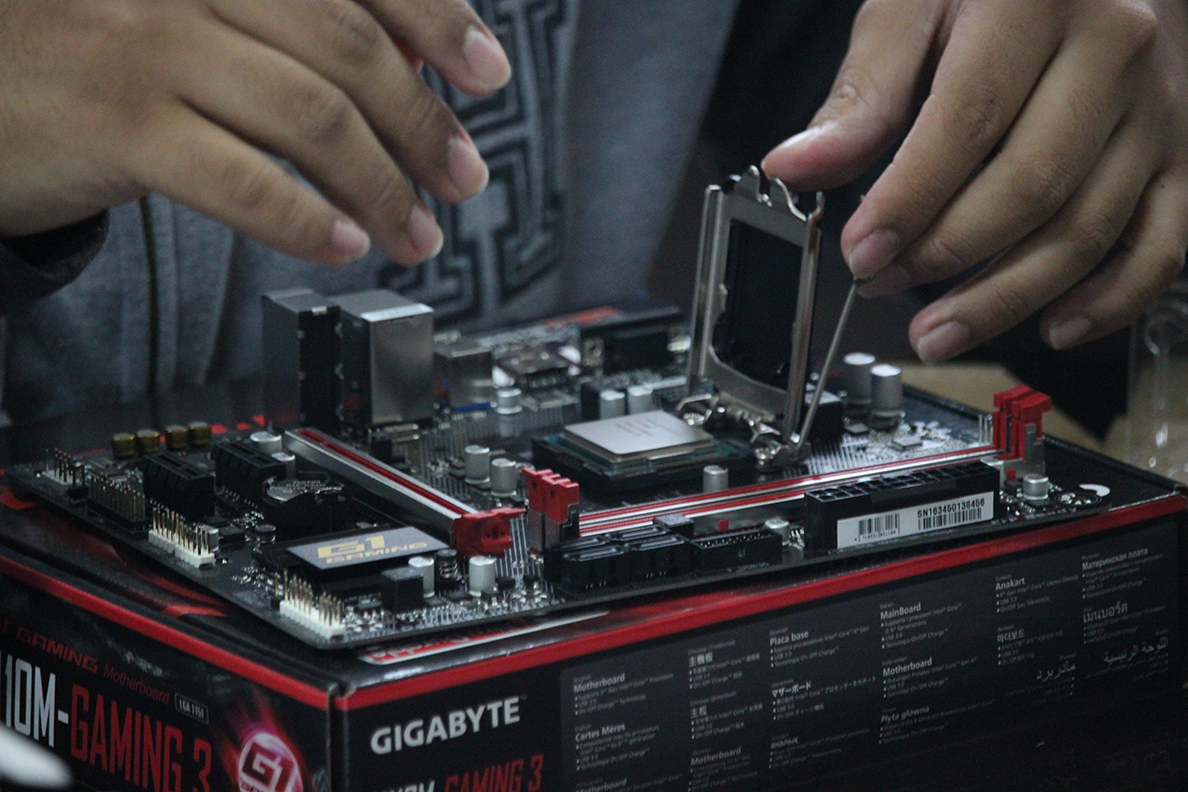
To install the processor, push down on the retention arm, swing it out, and lift it up. Place the processor straight down, gold contact-side down. The chip should fall easily in, and you don’t need to push it down or anything. To lock it in place, do the opposite of the previous step: bring the retention arm down, out, then in. This will take a little force, so don’t be afraid if you hear any slight creaks. The socket’s protective plastic cover should then pop out at this point. Set it aside.
- Installing the CPU heatsink
The processor’s box also has another thingamabob in it—the heatsink and fan—that will keep the CPU cool when under load. If you look at the underside of the heatsink, you’ll see a silver gooey product—don’t touch it! This is called the thermal paste and it ensures adequate heat transfer from the processor to the heatsink.
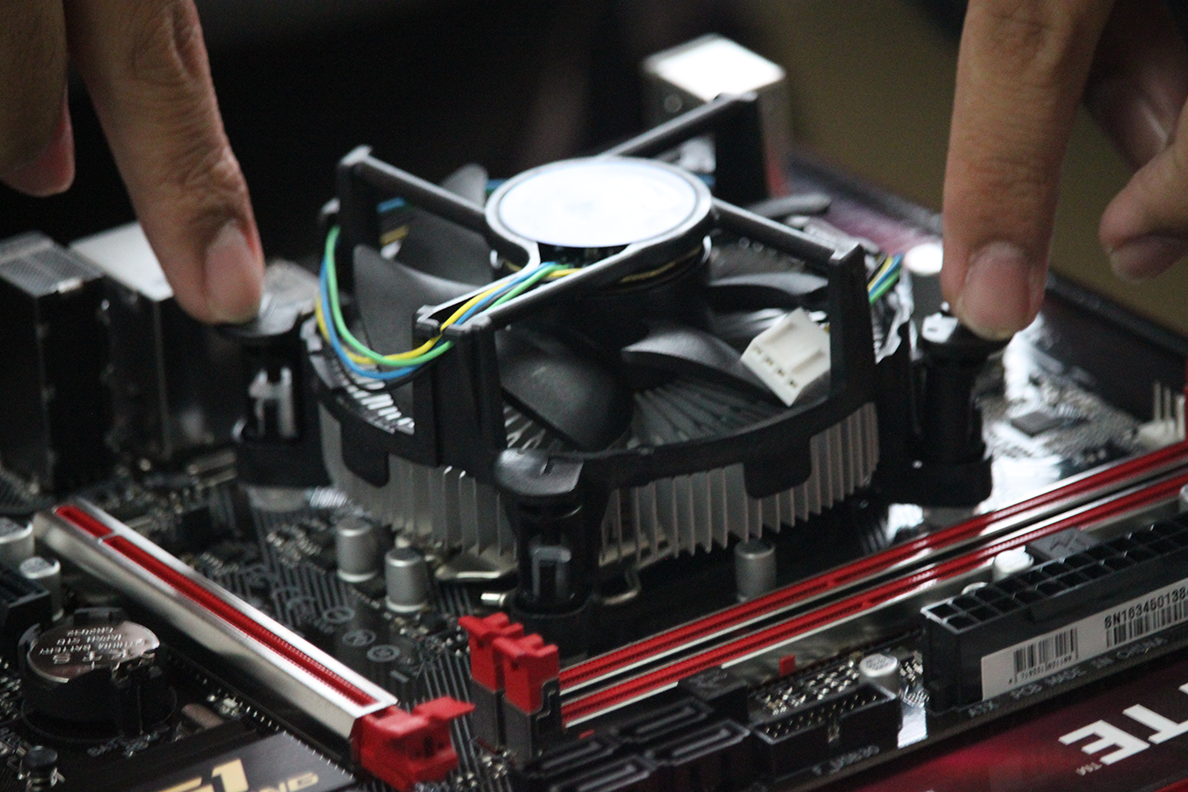
To install, line up the four pins on the corners with the four holes around the motherboard’s socket. Then press down on the heatsink push pins to lock them into place. Now, you can use the heatsink and fan to gently lift the motherboard around. Do so to verify that the pins made it all the way through the holes.
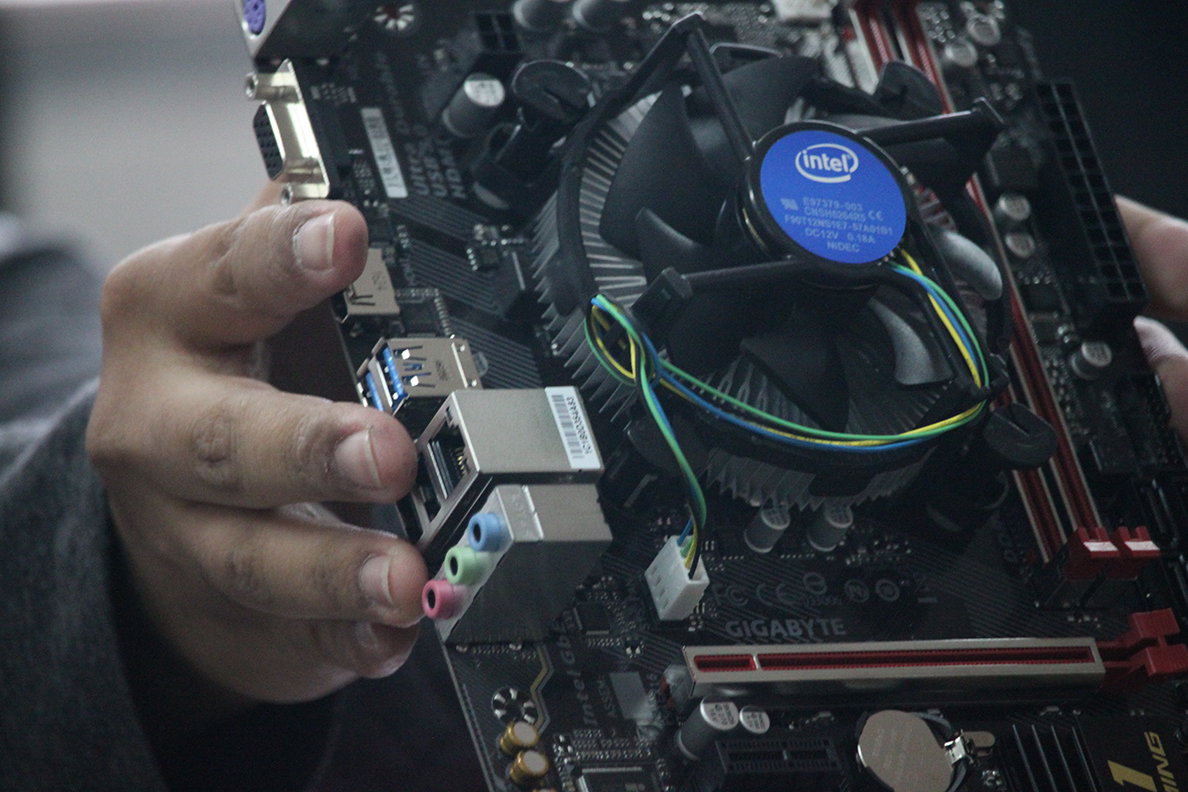
If everything’s good, then you need to take the fan header and push it into the gold motherboard pins labeled “CPU_FAN,” or something similar. To make sure that there’s no cable slack that may get caught in the fan blades, tie the cable into a knot before plugging it in. Don’t worry, you can only install the header one way because there’s an alignment groove.
- Installing the RAM
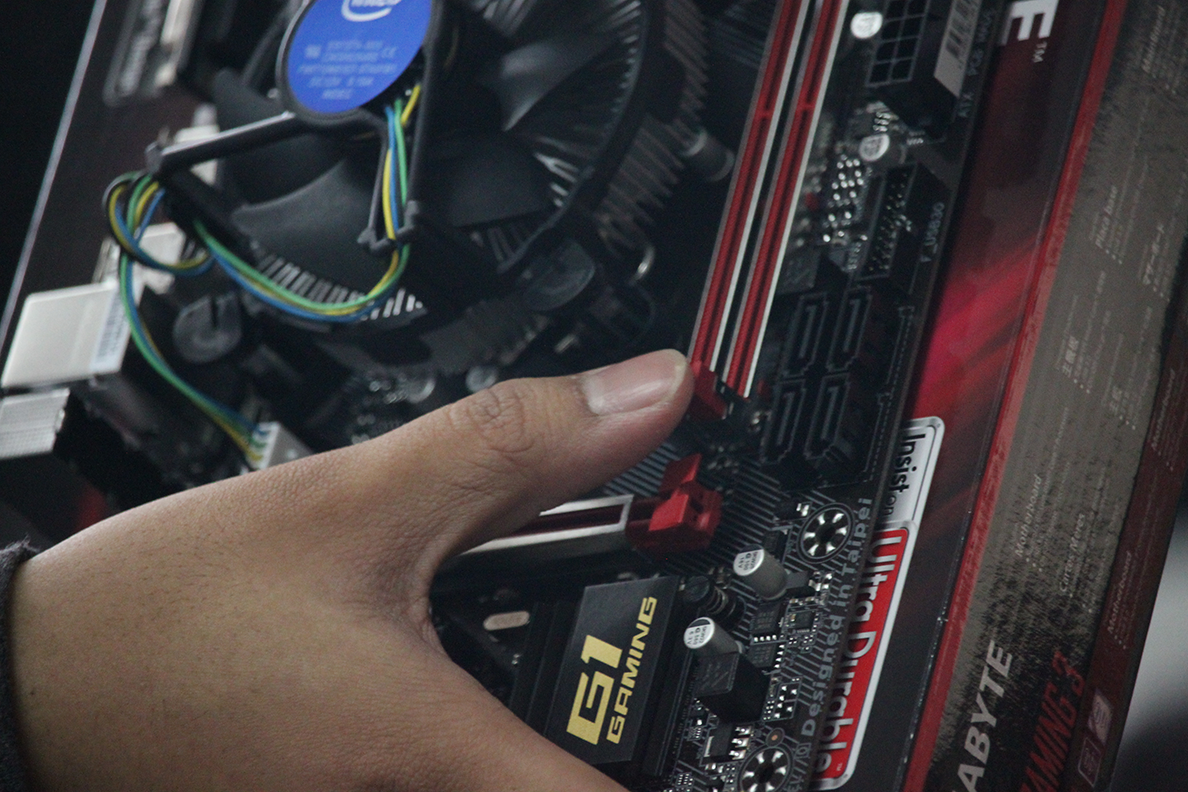
Consult your motherboard manual to see where the best slots to install your RAM stick(s) are. You should push down on the tabs at either end of the slot (some motherboards only have one end that can be disengaged) before installing the memory. Once done, orient the stick so that the gap near its middle is aligned with the notch in the slot.
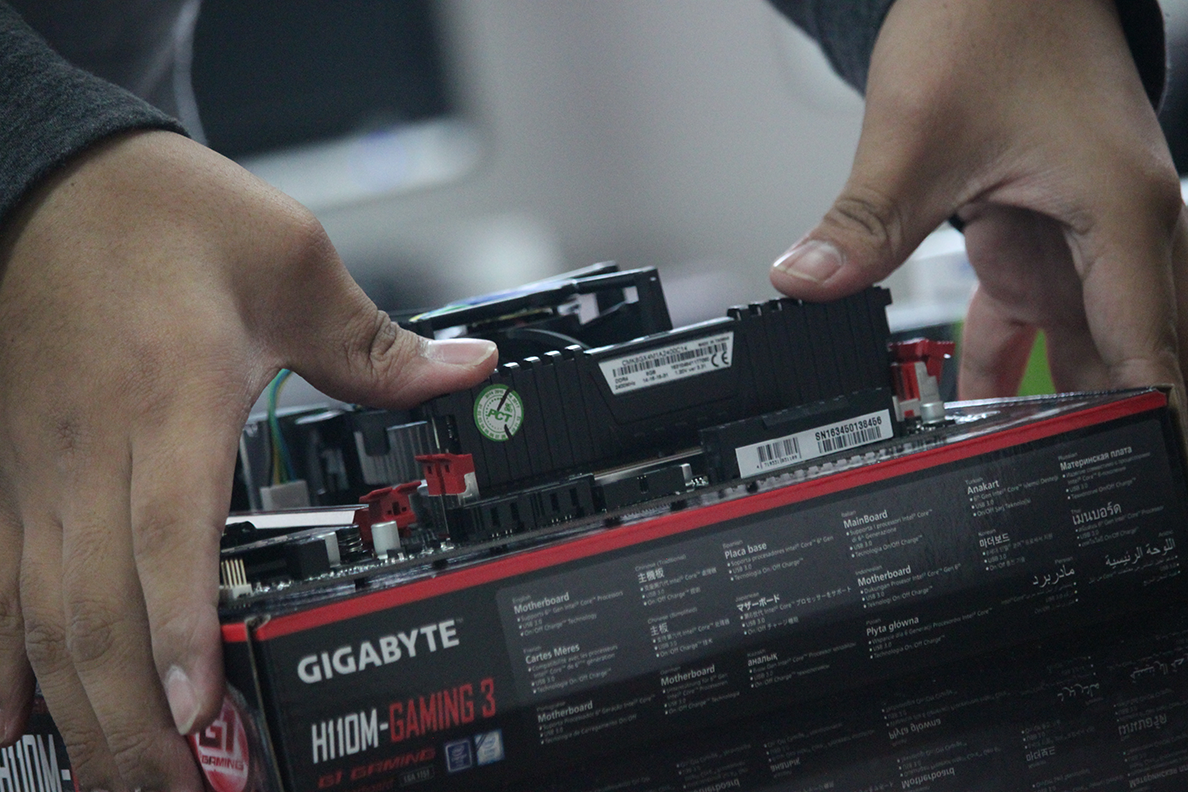
Press the RAM stick down with two fingers on both ends. It takes a bit of force so don’t be afraid to bear down on it a little. The tabs should reengage by themselves once the stick is fully installed. Rinse and repeat for other RAM sticks.
- Installing the motherboard in the case
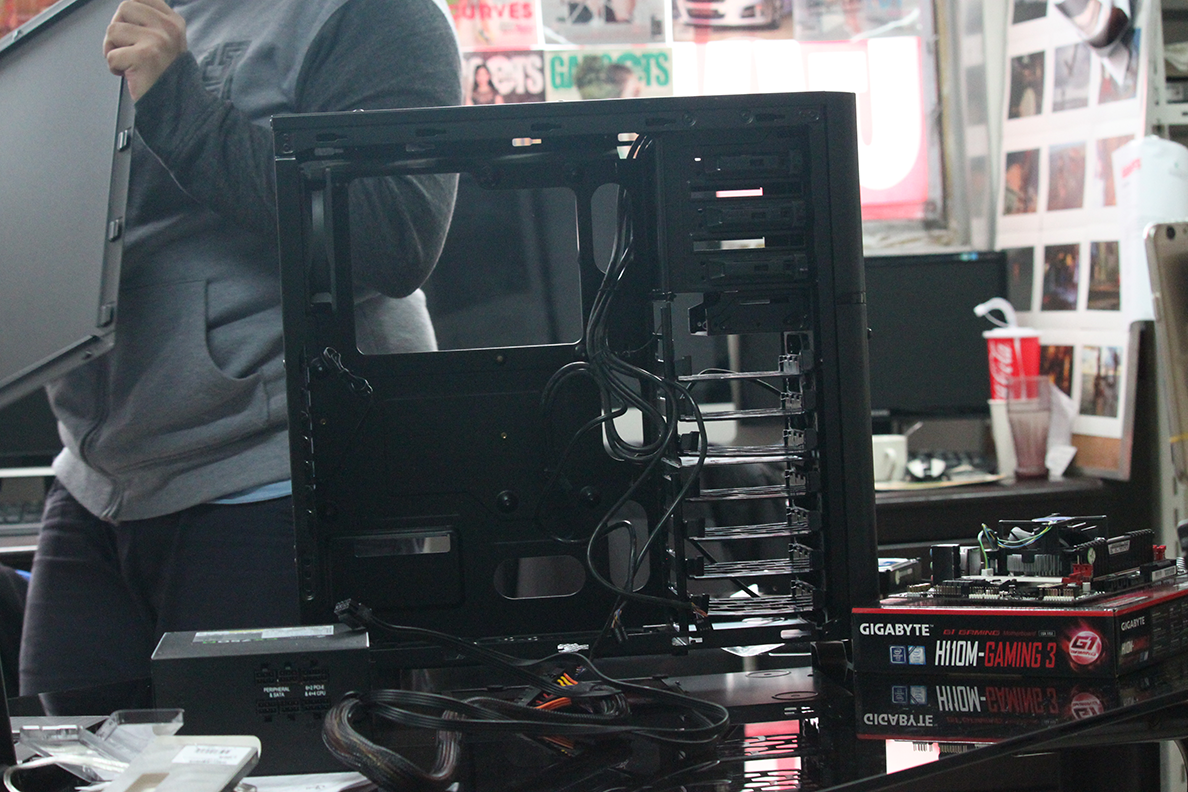
Take your case out of its box and protective plastic, set the screws aside, and open the side panels. Read the case’s instruction manual before proceeding, as some have built-in mobo standoffs while others need these to be installed first. The case also holds the magical answer to the question “Which screws go where?” so don’t toss it away willy-nilly. Lay it flat on its side for easier operation.
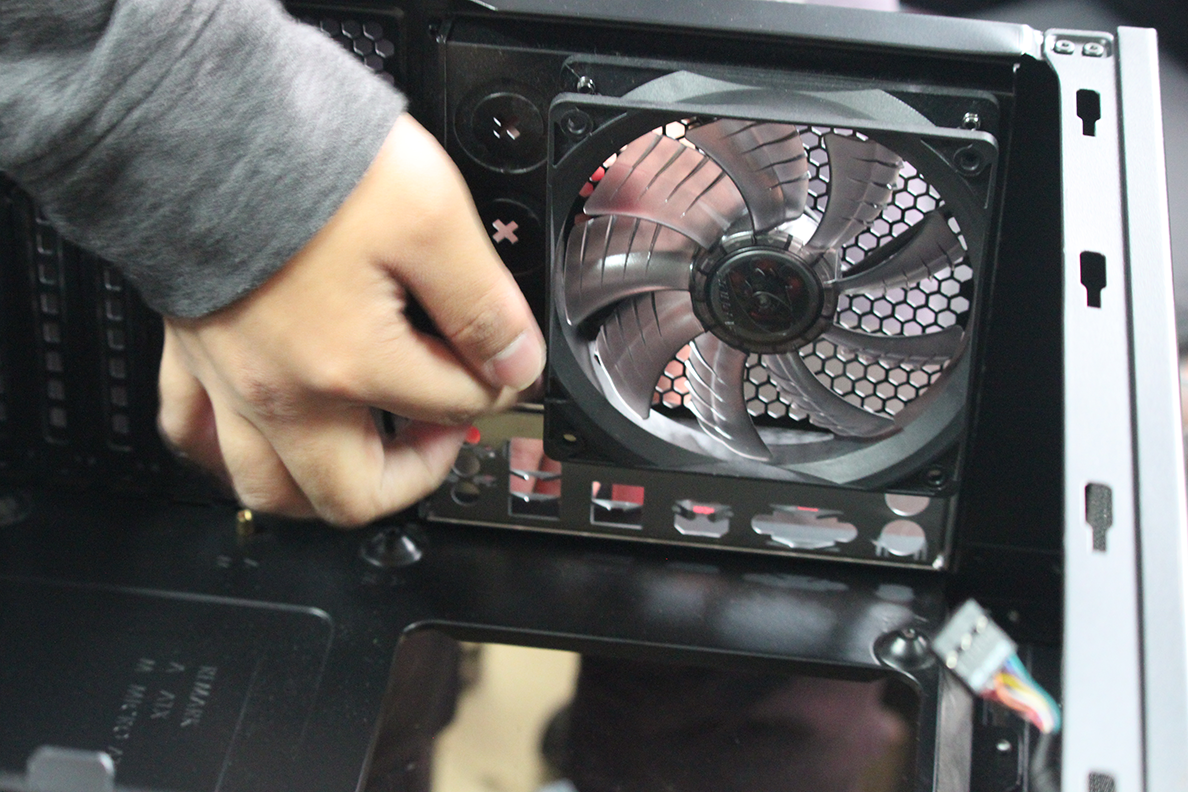
Before anything else, get your motherboard’s I/O shield and install it in the proper orientation in the rectangular cutout at the back of the case—be careful as it’s pretty sharp. Push the edges slowly until you hear them snap into place.
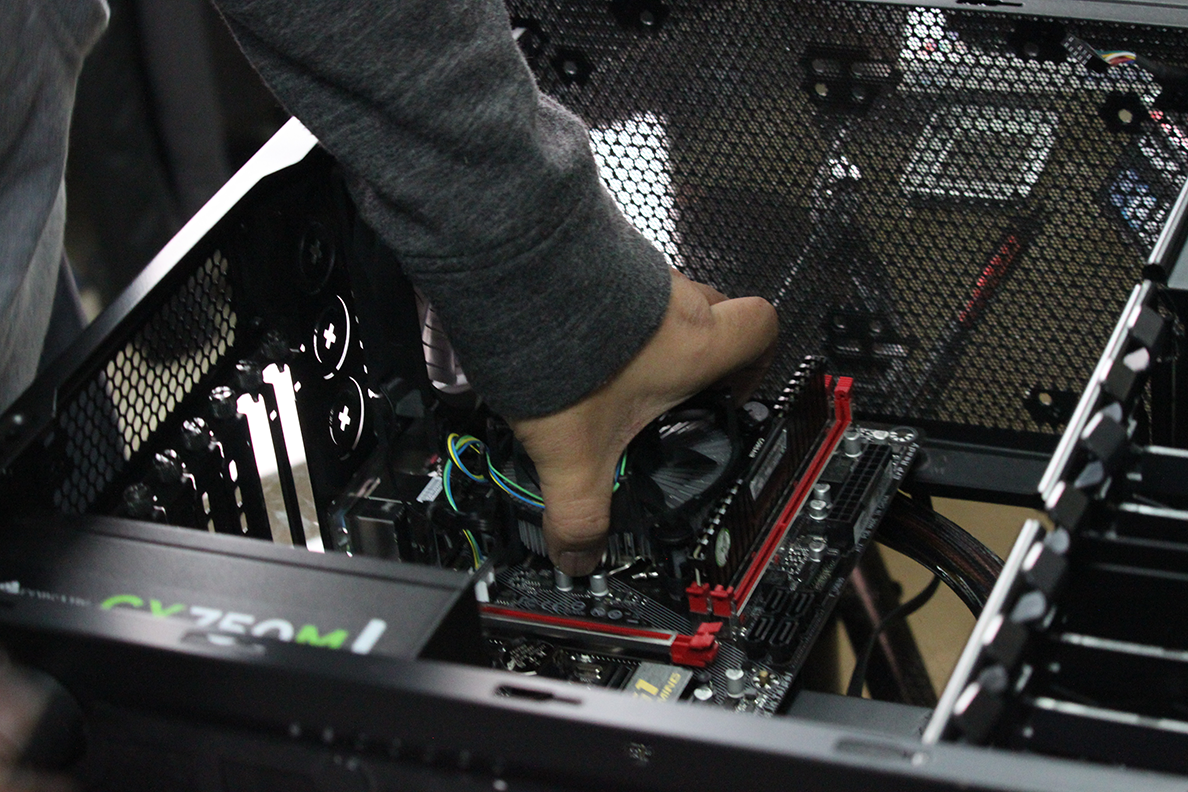
Next, take your motherboard and slide it in at an angle, aligning the ports towards the I/O shield. The processor should be nearer the top of the case, FYI, so if the I/O shield and I/O ports don’t line up, then you probably installed the shield wrong. Once you’re sure everything’s aligned, gently set the motherboard down onto the standoffs.
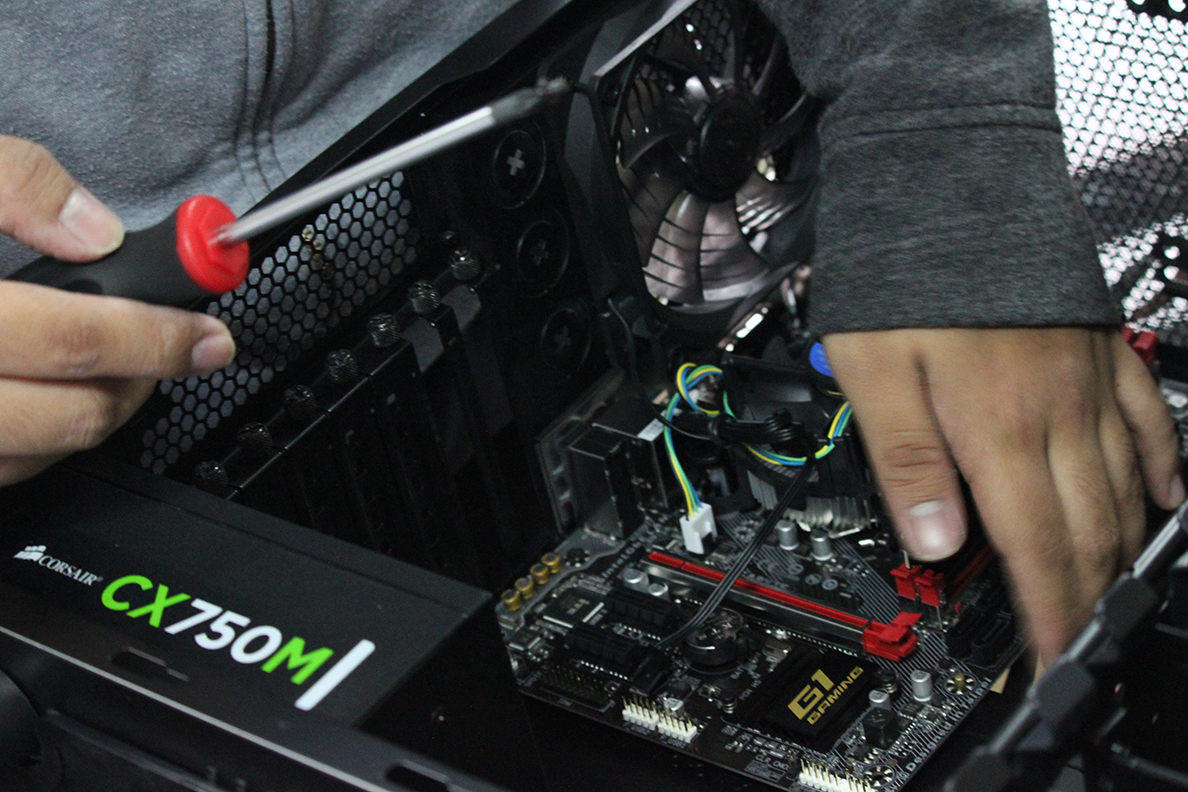
Now don’t go screwing things in yet. There’s a certain technique you’ll have to apply so that the motherboard doesn’t bend under uneven stress. What I usually do is screw in the upper left hole first, but only installing the screw halfway in. Then I work in a diagonal pattern across the board, slowly tightening each screw until everything is in. This ensures even distribution of pressure across the mobo.
- Installing the power supply
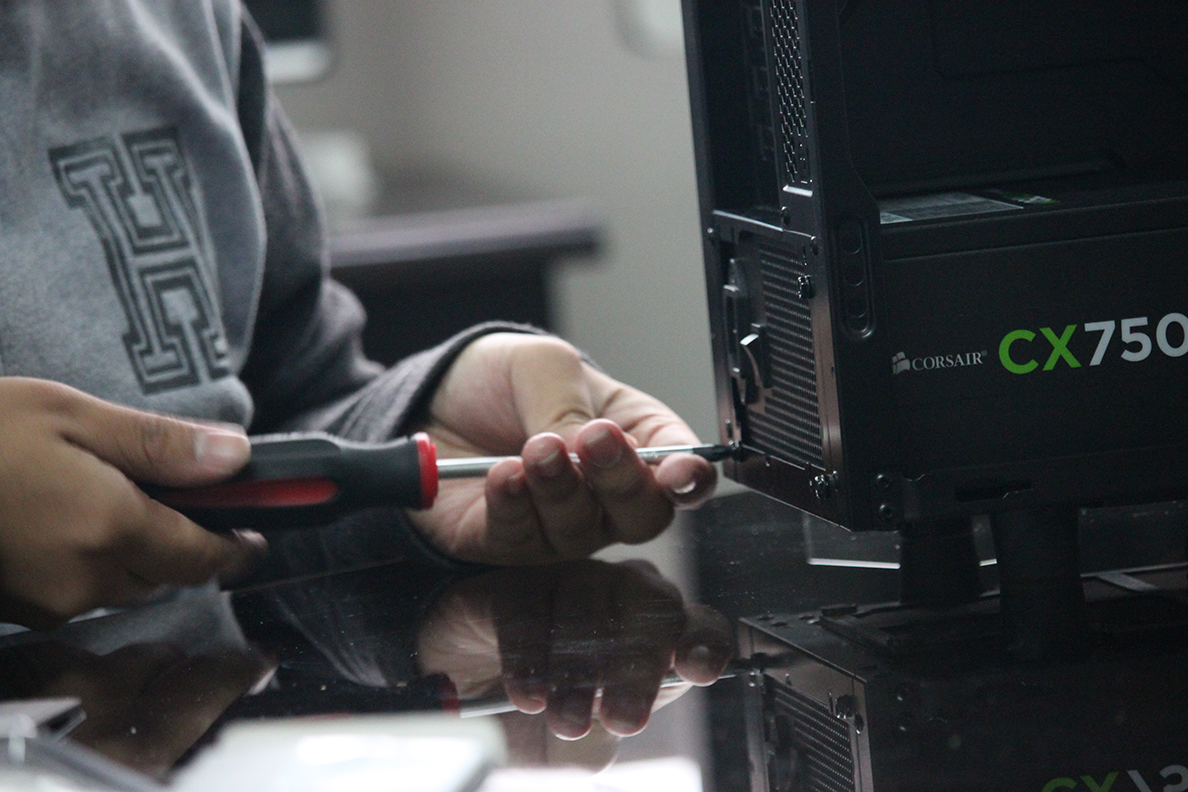
The power supply is an easy install. It goes into the bottom of the case and can be installed fan-side up or fan-side down. Do the former if your case has no holes in the bottom, and do the latter if it has bottom ventilation holes. The important thing is your PSU has access to air in order to cool itself.
Your PSU may be non-modular, semi-modular, or fully-modular. Non-modular means that all the cables, whether you need them or not, are pre-installed. While these kinds of PSUs are cheaper, the unused cables can be hard to manage, thereby contributing to clutter. Semi-modular units have the essential cables pre-installed, while the others can be installed as needed. These allow for easier cable management, though they are more expensive than non-modular ones. Fully modular PSUs, as the name implies, have no cables pre-attached. They’re also the most expensive.
Screw the PSU in the orientation you prefer using the indicated screws. Easy peasy.
- Installing the storage drives
Some cases have a dedicated storage drive cage, wherein 2.5 and 3.5 inch drives are fixed on toolless, rail-mounted sleds. Others require the drives to be screwed against a case wall.
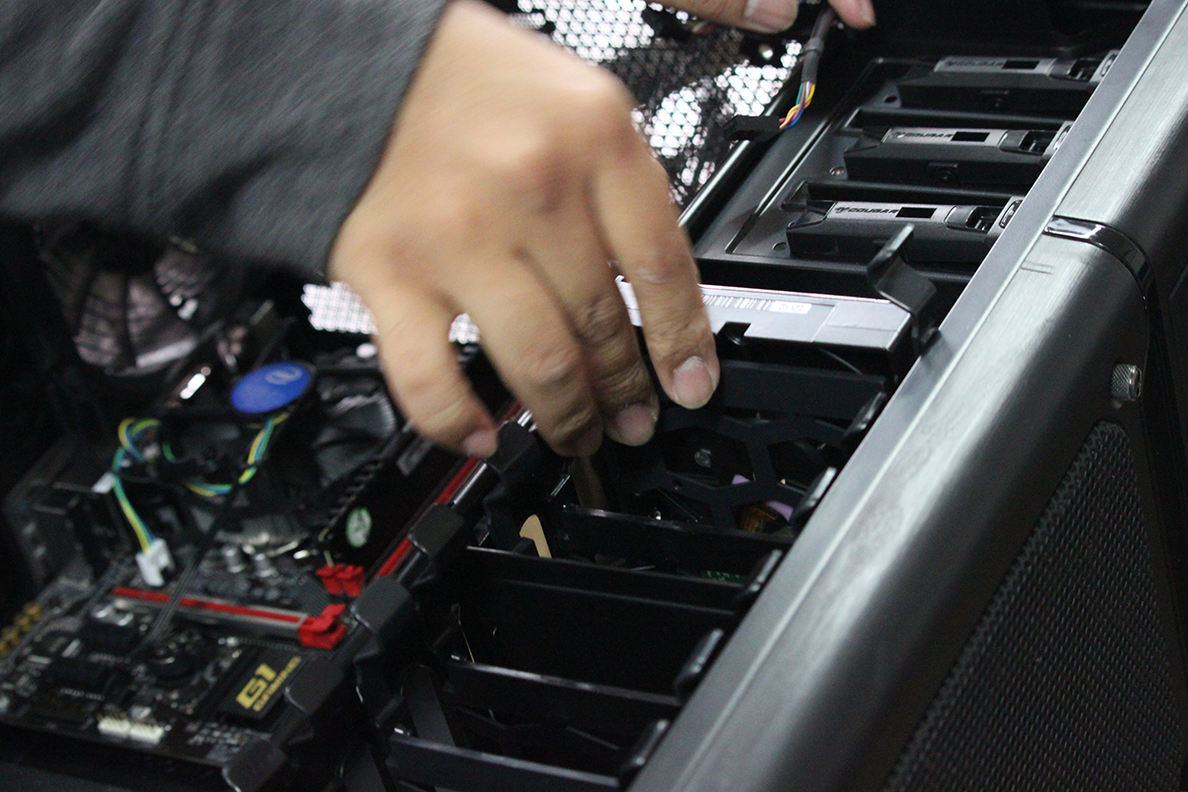
If you’re in the former scenario, just squeeze the sleds out, align the retention notch with the hole in your drive, then slide the sled back in. You should also install the drive with the gold SATA power and data ports facing the back of the case for easier cable management. The latter, as I said, requires the use of dedicated screws and vibration-dampening washers.
- Installing the graphics card
Afterwards, remove the expansion slot plates next to your motherboard’s longest PCIe slot.
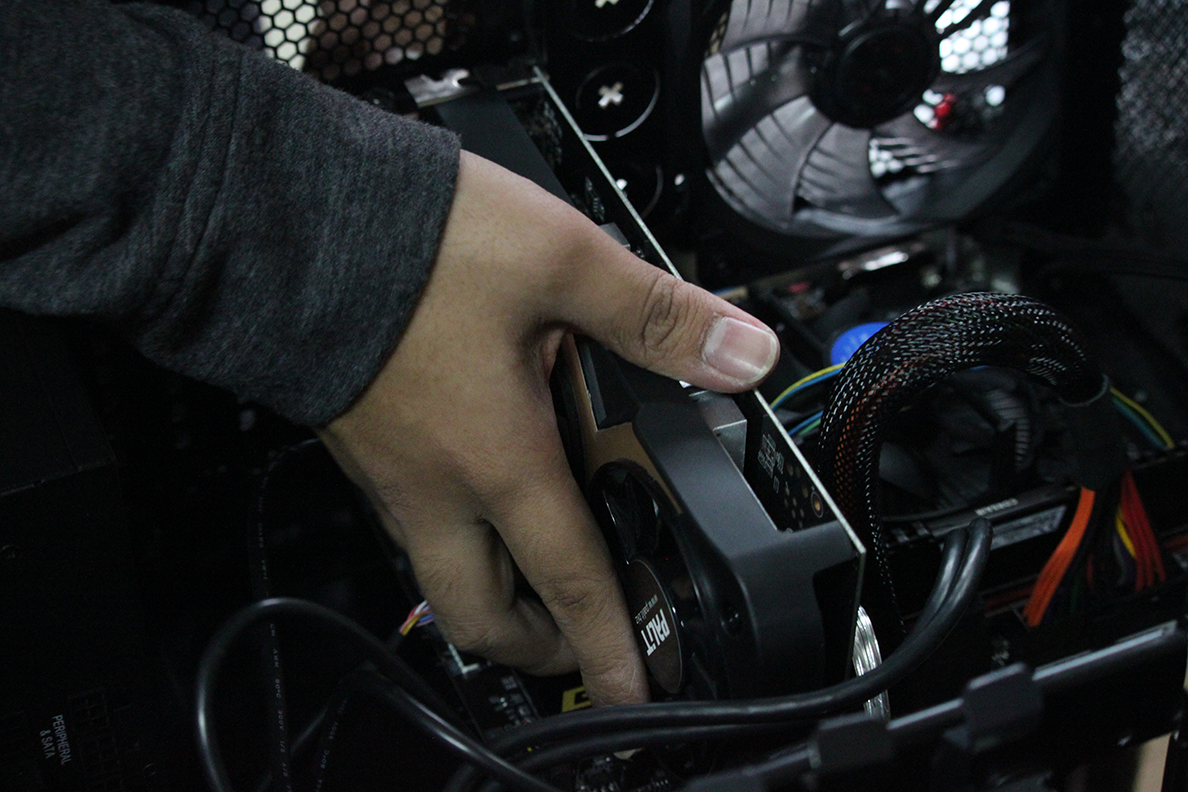
Here comes another easy one. Take your graphics card out of its box, remove any protective rubber, and align the notch on its gold PCIe fingers to the notch in your mobo’s PCIe slot. Just like the RAM, you’d want to press down on the PCIe slot’s retention tab before pushing the graphics card in. The retention tab will lift itself up once the card is seated correctly. Then screw the graphics card into the expansion slot using the proper screws so that it doesn’t sag.
- Plugging the cables in
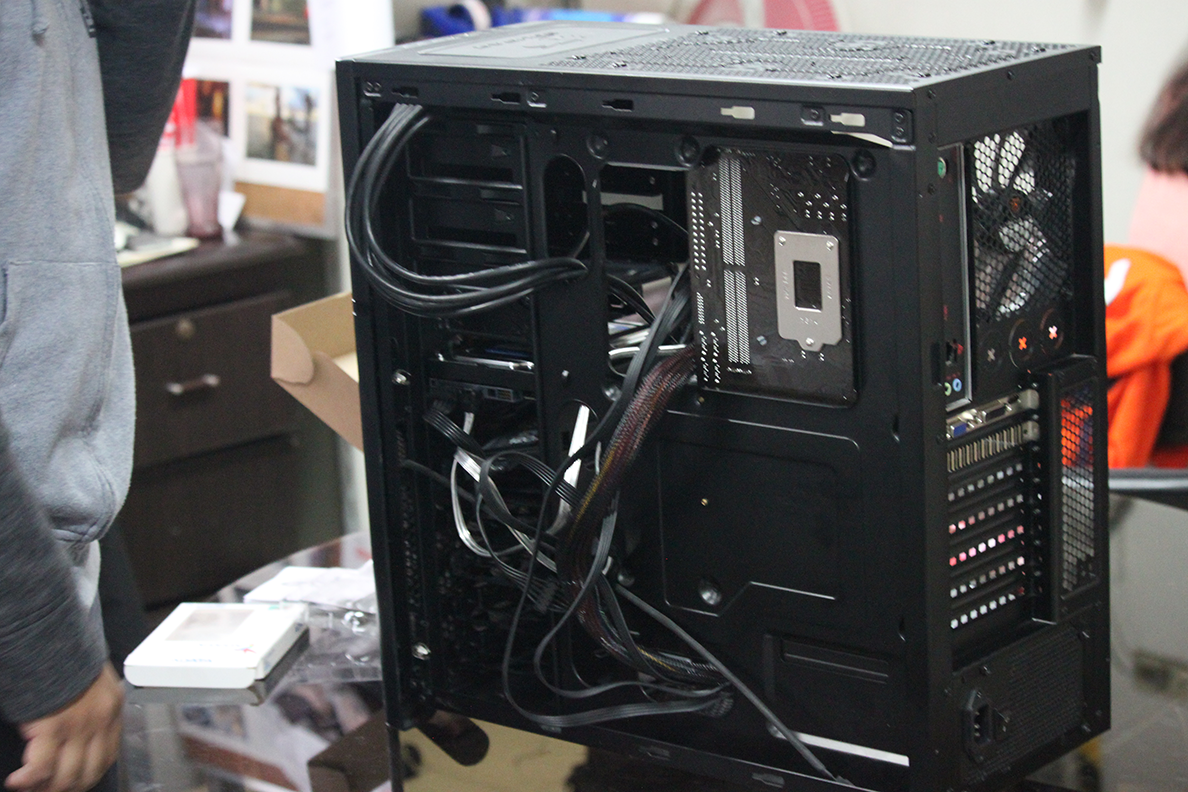
Has everything been enjoyable thus far? Yes? Good! All that’s left is to plug every cable in. Sadly, it’s not as simple as it sounds. Well, not that it’s complicated, but it’s tedious especially if you don’t like cable clutter. If your case has space at the back of the motherboard tray, then it’s best to route all the cables back there to minimize the mess in the interior. Just thread the needed cables back near where they are required.
You might have noticed that the case comes with cables. These allow you to use the power button, reset button, drive activity LED, audio ports, and USB ports that are on the case’s face. The USB and audio cables are easy enough to install as they are big and all have notches on them, making them a one-way install. Just make sure to consult the mobo labels and manual so you don’t end up trying to force something where it doesn’t belong.
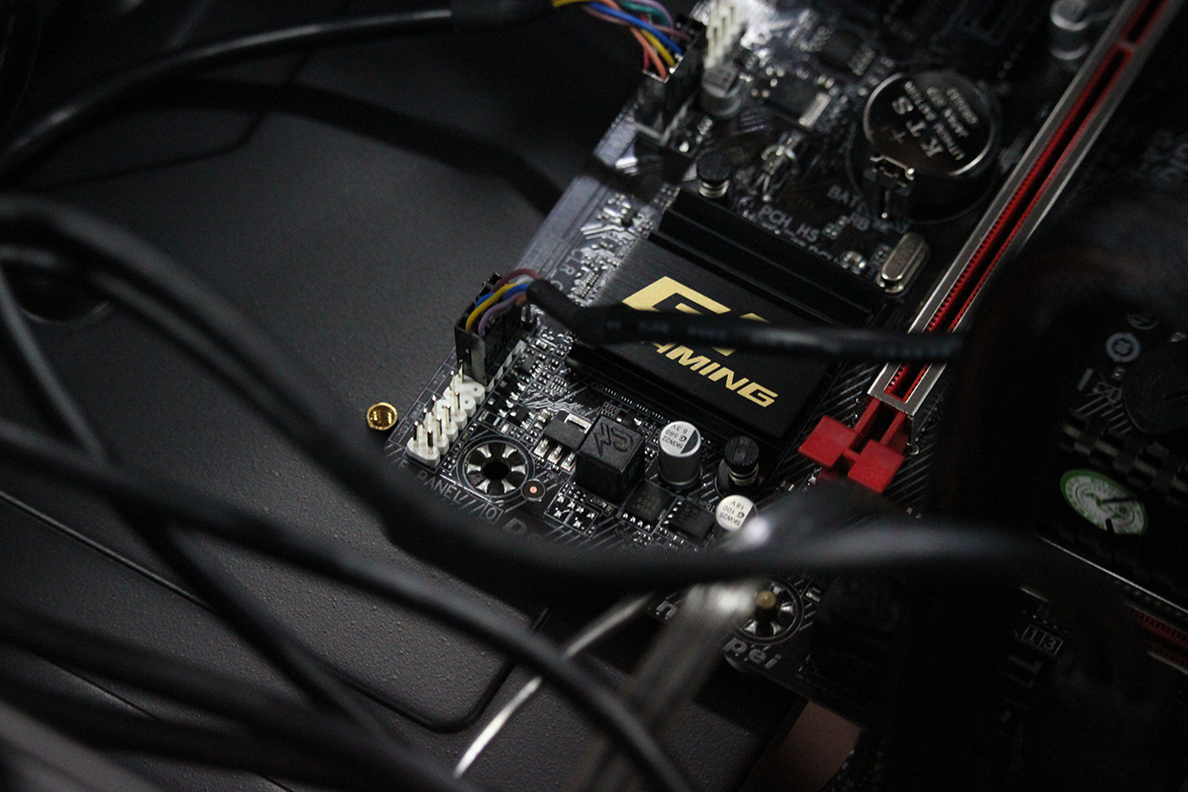
On the flip side, the first few cables I mentioned above require steady hands because they have smaller pin connectors. They’re usually plugged in a cluster near the bottom right corner of the motherboard, though again, consult your manual so you’re sure which pin plugs where.
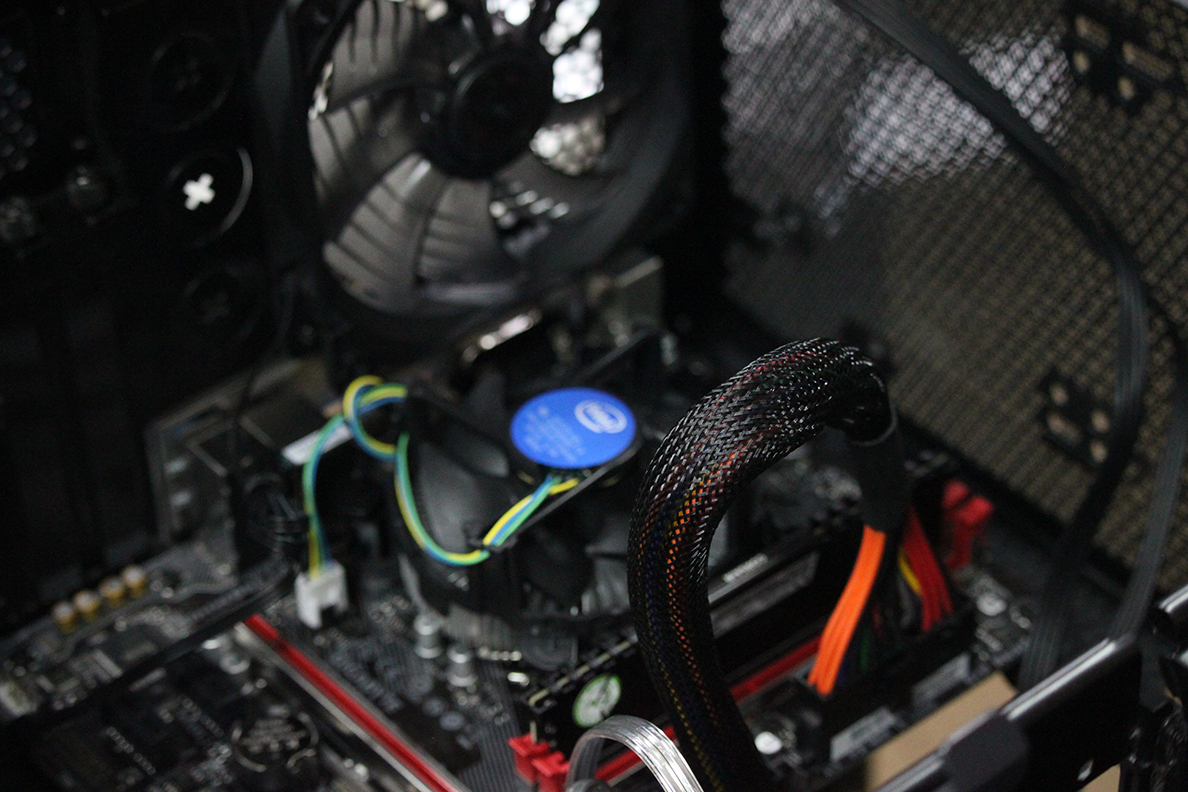
Now to plug in the PSU cables. The motherboard should receive both a 24-pin power cable as well as another 6/8-pin power cable near the processor. The SATA power connectors should also be ran to where the drives are. Lastly, plug in the PCIe supplementary power connectors to the graphics card. Don’t worry about plugging things in wrong: they all have one-way fail-safes. If you find that a cable’s not going in, don’t force it. You may have it oriented wrong or you may have mixed them up.
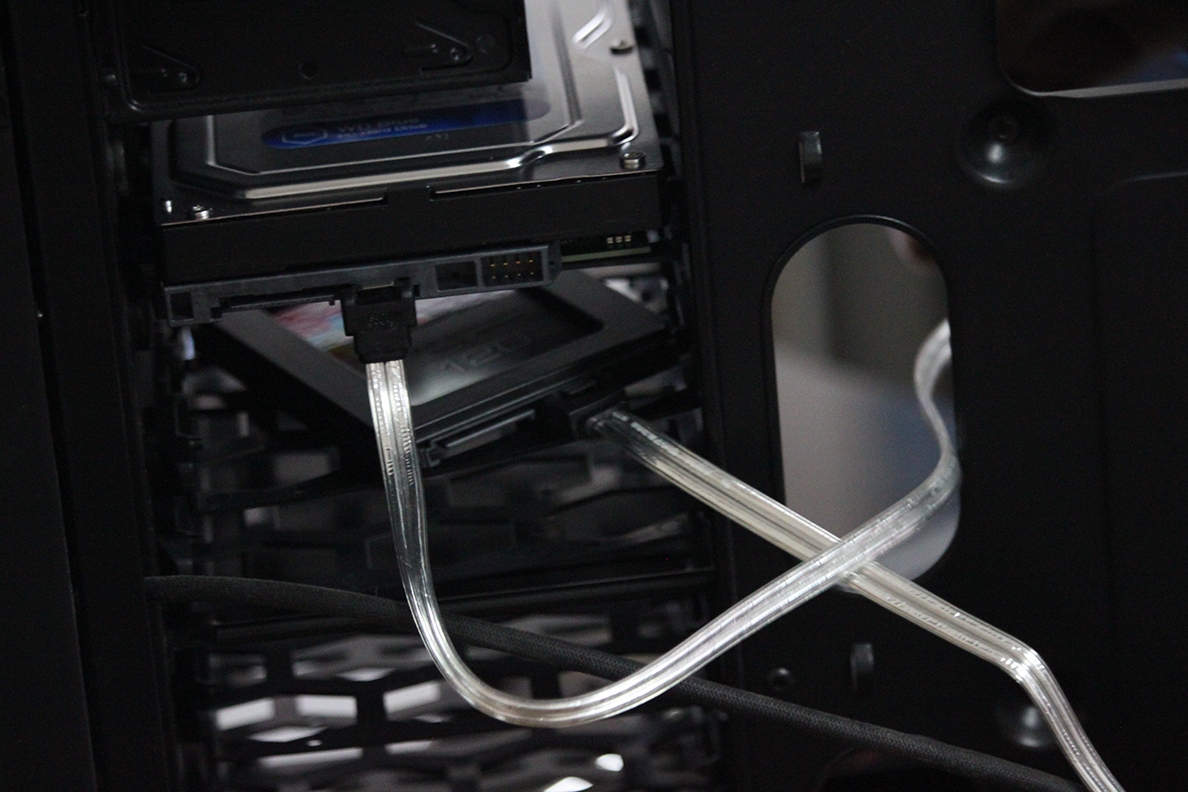
Lastly, run the notched SATA data cables from the corresponding motherboard ports to the notched SATA data connectors on the drives. Also, don’t forget to plug in the fans (if the case comes with its own) to their proper headers, usually called “SYS_FAN”
- First boot
Before reinstalling the case side panels, it’s best to make sure that your new machine boots to avoid any hassles. Plug in the PSU to a wall outlet, plug in the monitor and peripherals, cross your fingers, and press the on button.
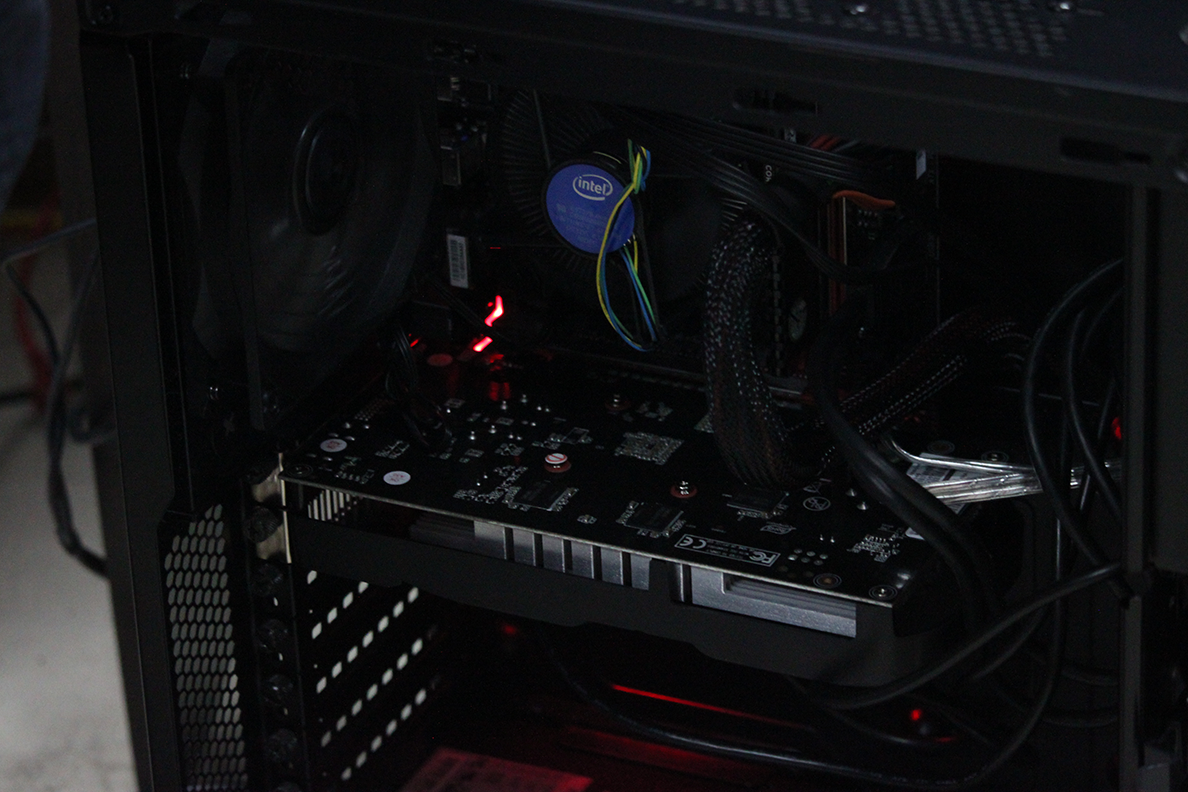
If the computer turns on and you see the fans start spinning, then congratulations! It seems like you haven’t broken anything. To be absolutely sure, the BIOS should pop up on your monitor, giving you details like the kind of processor installed, how many GBs of RAM you have, your storage capacity, and the like. Check that everything’s in order.
If the BIOS screen doesn’t show up, then it’s time to troubleshoot. Maybe you forgot to plug something in. Maybe you plugged in a cable wrong. Or maybe something’s not seated properly. Whatever it is, Google will be your best friend. Chances are, you’re not the first person to experience the exact thing that happened to your PC, and a solution is already floating around on the internet.
Once you’re done, you can slap the side panels back on and get to installing an operating system, mobo and graphics card drivers, apps, and games.
See? Building a PC isn’t that hard. All it takes is some patience, common sense, and some elbow grease. Just in case you become lost in the process, always remember to consult the manuals. They’re more helpful than you think.
