If you find yourself in an area with multiple public Wi-fi spots and wish to be connected to the one with the best signal then you’ve come to the right place. Here, we take a look at clever way to sniff public Wi-fi spots, view their MAC addresses, as well as see their corresponding signal. For this tutorial, you will need a computer running MacOS. As a caveat, always make sure that you take the necessary precaution when connecting to public Wi-Fi. Antivirus programs, and enabling your Firewall is key!
First thing’s first. Find a spot you know there’ll be free Wi-Fi. If it isn’t obvious enough, go to malls, nearby restaurants, cafes, and what not. Although you’d want to find a commercial area, try not to go with the densely populated ones as you’ll most likely be battling for bandwidth. Most public Wi-fi spots have the same sluggish speed anyway, so if you’re counting on accessing free Wi-fi, then you need all the help you can get.
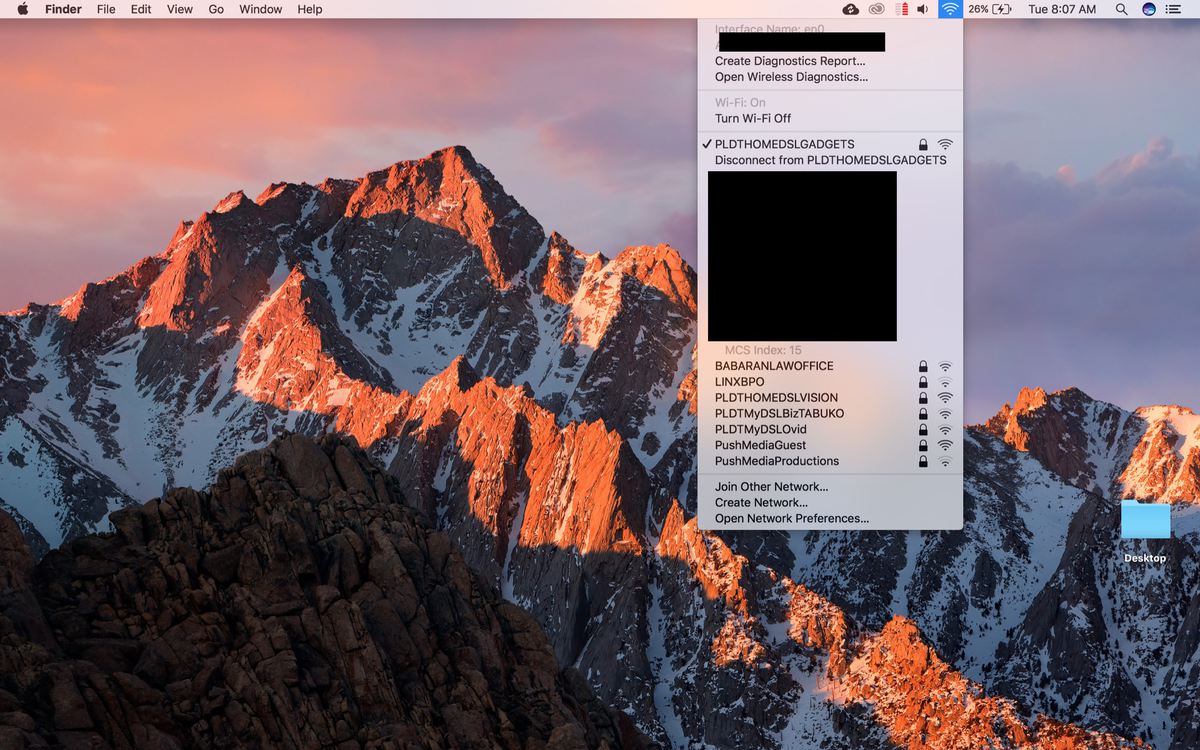
Once you find your spot, you’re all set to go. While holding down the ALT-Option key in your keyboard, locate the Wi-Fi icon up your menu bar and click on it. Doing so should reveal an additional option to open Wireless Diagnostics, click on it. The moment you click that button, the Wireless Diagnostics window will open up. Ignore it.

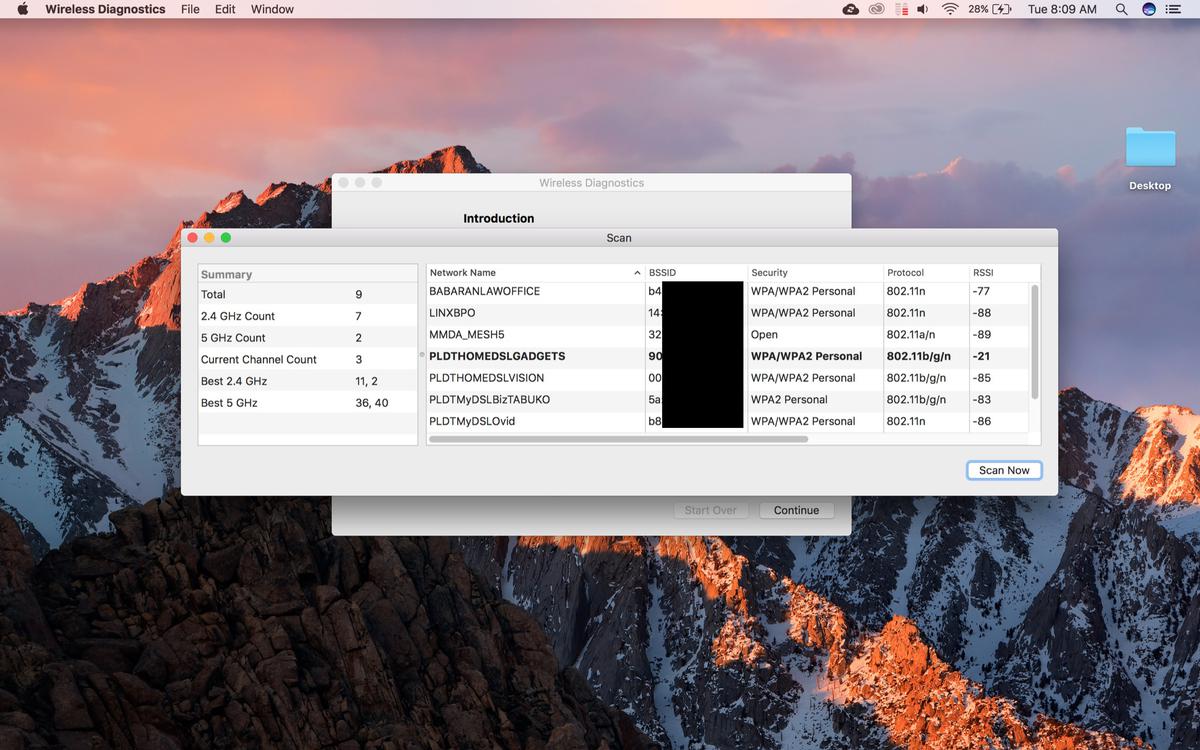
Go back to the menu bar and press on the “Window” button that’s located in the top left, then click “Scan”.

There you have it. All available public and private networks should be listed there with their corresponding MAC addresses located at the BSSID column along with their signal reading at the RSSI column. The lower the number is in the RSSI column, the better the signal. In cases that there are access points with the same Network Name or Service Set Identifier (SSID), simply refer to the MAC addresses to make sure you’re connected to the right one. Good signal doesn’t exactly constitute good speed, but with public Wi-Fi spots’ similar and limited speeds, having a good connection is a start.
